I was amazed at the weight and quality of this stand for a mere £30 . . .
Lidl Bike Stand


I was amazed at the weight and quality of this stand for a mere £30 . . .
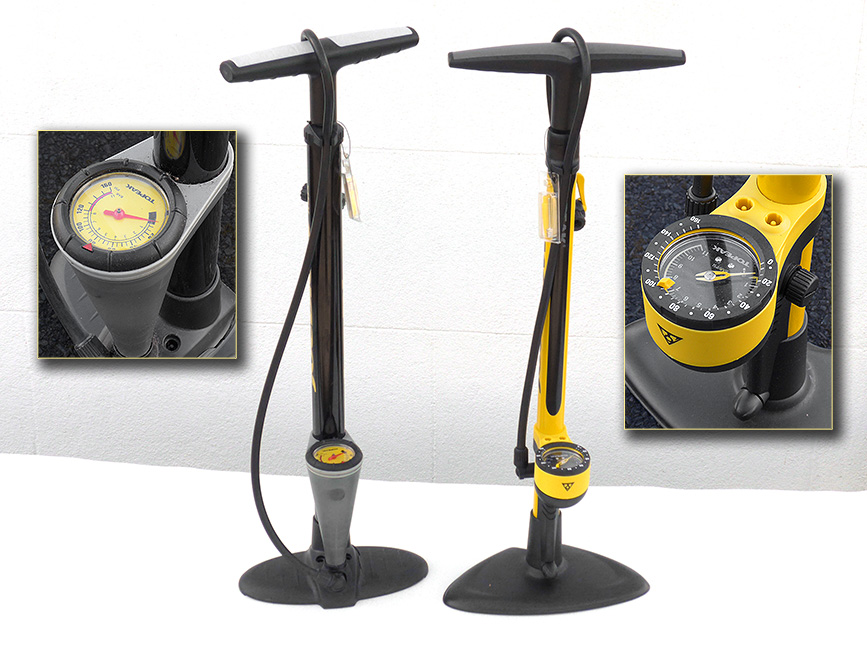
What’s in a pump?
(air I hope!)

Testing out new shoes, saddle, etc
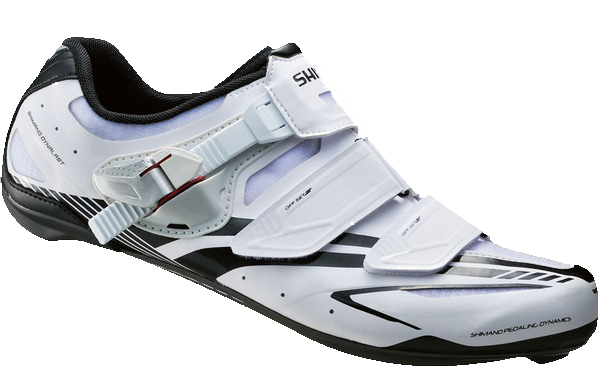
First impressions…
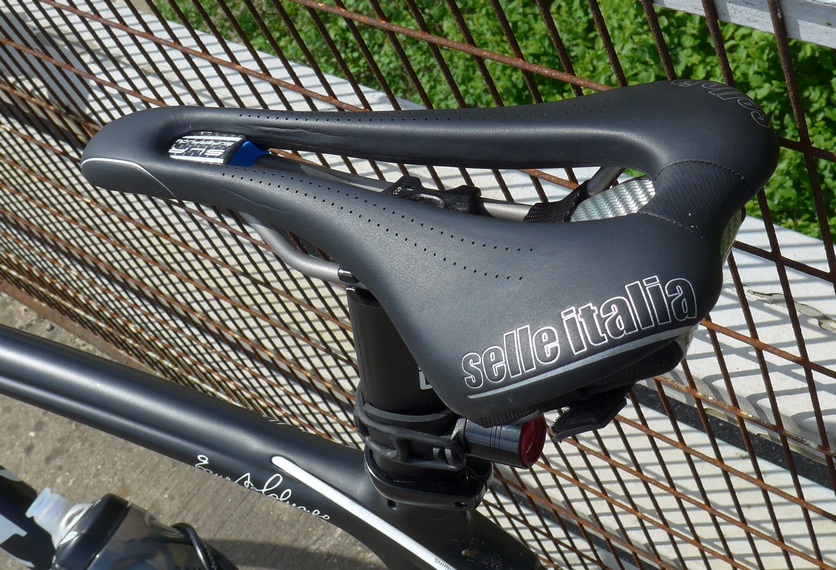
Light-weight saddle with large cut-out…
I bought these tyres back in December 2012 and have only just fitted them. I hope they turn out to be as reliable as the Mavic Yksion Pro Griplink (front) & Powerlink (rear) tyres that they have replaced. I covered over 2000 miles on the Mavics without a single puncture (actually I did have one puncture but it was on the inside of the tube, so had nothing to do with the tyres).
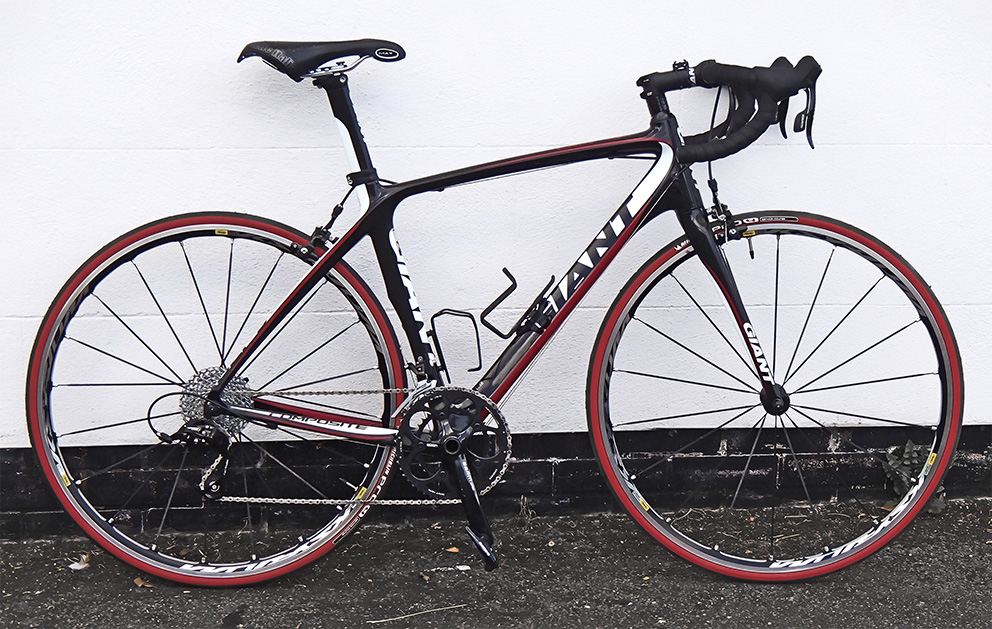 When I first fitted these red Michelins to my Giant Defy, I was concerned that they looked a bit too garish.
But I’m getting used to them now and I think the on the frame.
They definitely do not look good, however, on my
Notice that I obeyed when I fitted them!
Follow-up (28th Oct 2013): After less than 200 miles on these tyres, I suffered a puncture on this ride. During the post-mortem, I saw that there was a split on the side of the inner-tube. So I looked for a corresponding hole in the tyre and saw this:
At first I thought there was a piece of grit lodged in the tyre and I tried to eek it out with my finger nail, but then I realised that it was the inner-tube bursting through a split in the sidewall of the tyre! Damn! I don’t think there’s any reliable way of repairing this, so it looks like a new tyre will be required. It was only when I saw the photo that I noticed that there is another thin cut to the tyre just to the left of the hole. Maybe that happened at the same time. These tyres are known for having ‘flexible’ (i.e. thin) sidewalls, and that’s part of their attraction, performance-wise. I won’t criticise the tyres just yet. It was probably just bad luck – the roads were really covered in lots of autumnal debris that day. I’ll see how they go.
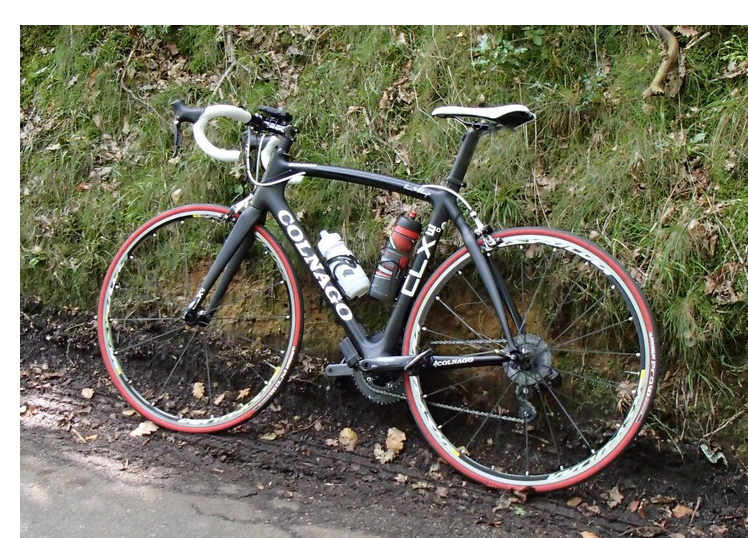
Follow-up (21st April 2014): After about 400 miles on the replacement tyre, I suffered another sidewall puncture on this ride. Exactly the same thing had happened again. But this time I had a in my bag. I stuck the boot to the inside of the tyre to bridge the hole. The boot prevented the inner-tube bulging out of the tyre and I assume it would help prevent the hole getting bigger. Tyre-boots are only intended as a temporary repair, but this time I left it on as I didn’t want to have to go out and buy yet another tyre after only 9 rides!
Follow-up (18th October 2014): The tyre boot has now been in the tyre for 1100 miles and still looks OK. I check it every ride. That certainly allowed me to get more value from this tyre. I’m sure there are loads of cautious types out there who’d say “why risk your life for the sake of a new tyre”, “suppose it blew out on a fast downhill”, etc. I would say to them that these tyres have already blown-out twice when nearly new. Cycling has a certain amount of inherent danger. It’s a matter of weighing the odds. If you want to totally ensure your safety then stop riding a bike!

Pro mechanics do it because it makes it easier to find the valve. You do this because that’s the way pro mechanics do it. This will save you precious seconds while your fat ass sits on the roadside fumbling with your CO2 after a flat. It also looks better for photo opportunities. Note: This obviously only applies to clinchers as tubulars don’t give you a choice.
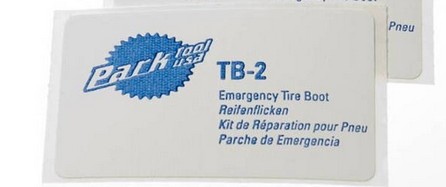
I bought this beautiful machine in the September end-of-season sales. It arrived the day after The Circuit of Kent Sportive, at the tale end of a glorious long stretch of hot sunny weather. As soon as it arrived, the weather changed; exactly the same thing that had happened when I bought my Giant Defy Composite 2 last year! With the cold wet weather and other things conspiring against me I wasn’t able to ride it until this evening, 10 days after I got it! That was the longest time off my bike since way back in March.
The ride is wonderfully smooth. It’s very comfortable, even over rough ground, and yet the frame is really stiff. The di2 electronic shifters work well and add to the feeling of luxury. I think I’m going to love riding it!
Only when I’ve have had more time riding it, and over some of my favourite routes, will I be able to comment further on its performance.
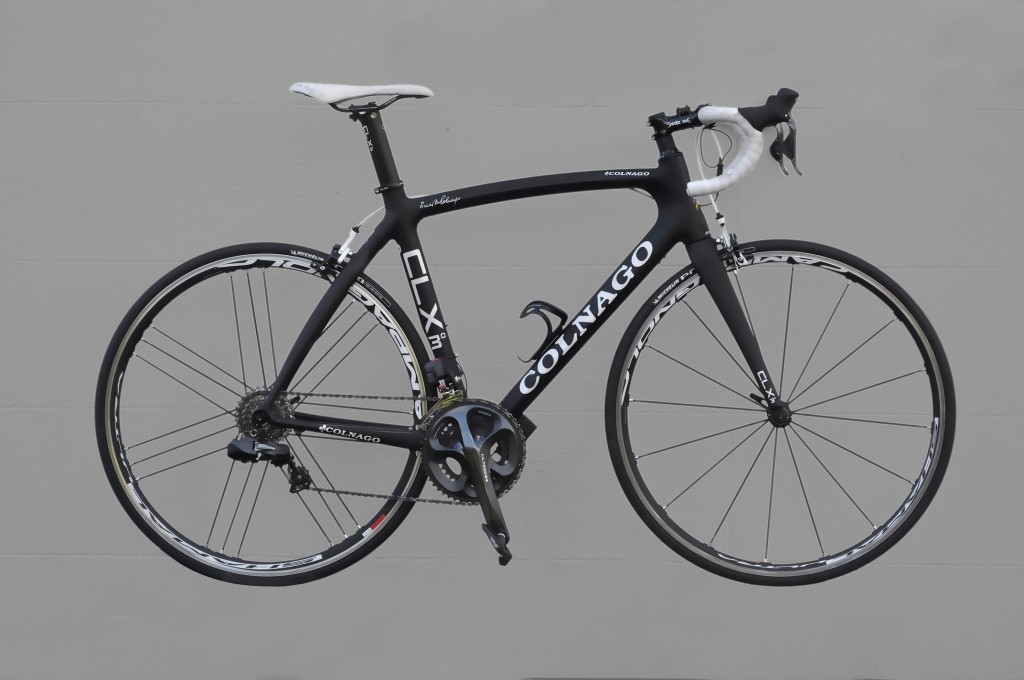
Currently I feel that the handlebar stem is too long so I’m going to try and change that.
Edit (22/9/13): I have now changed the stem from 120mm to 90mm and it is much more comfortable. Although, when I am down on the drops I can see the front wheel hub in front of the handlebars – this usually indicates that the stem is too short. However, another metric for measuring correct bar placement (when placing your elbow touching the front of your saddle, your outstretched fingers should be just shy (1cm or so) of touching the bars) indicates that the new position is correct!
Edit (03/11/13): I have now ridden several hundred miles on this bike and I love it. So far I have:
Issues:
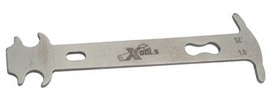
I decided to check the wear on my bike chain to see if it needed replacing. This is something I have never done before! My latest bike has done well over 2000 miles so I thought I had better check it. So I bought a When I googled how to use it I discovered that you don’t need any tool other than a steel rule to measure the chain with! And this method is even more accurate, although slightly more fiddly, than using the special tool, apparently.
The reason for replacing the chain is that it gradually wears and ‘stretches’. That doesn’t mean that any of the steel actually distorts, merely that the chain gets slightly longer due to internal wear on the rollers. This causes the chain links to no longer engage accurately with the teeth on the sprockets. This will cause the sprockets to wear, and since chains are cheaper than cassettes it pays to replace the chain regularly to avoid having to replace the cassette.
I used the chain wear indicator to measure the wear on the chain. You just hook one end of the tool into the chain and try to insert the other end. The other end has a single long prong on each side. One of them indicates 0.75% stretch and the other 1.0% stretch. On a new chain you won’t be able to insert either of the prongs. Here you can see on mine that I can insert the 0.75% prong: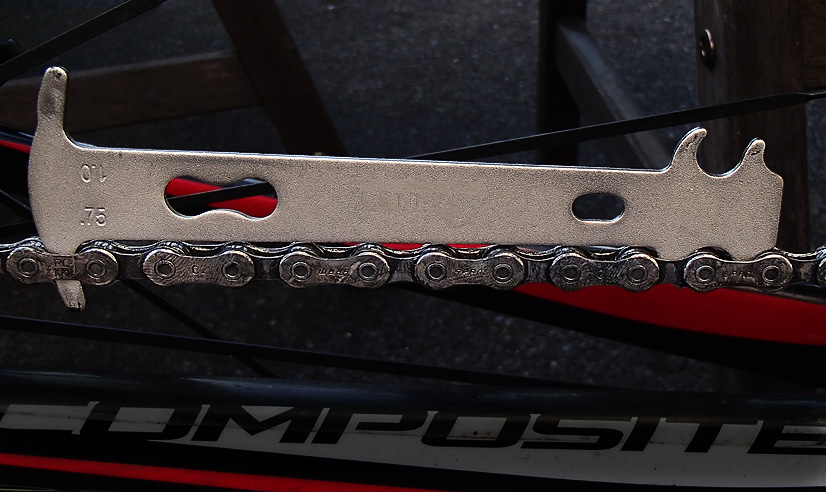
That means that there is at least 0.75% stretch. Then I tried to insert the other prong: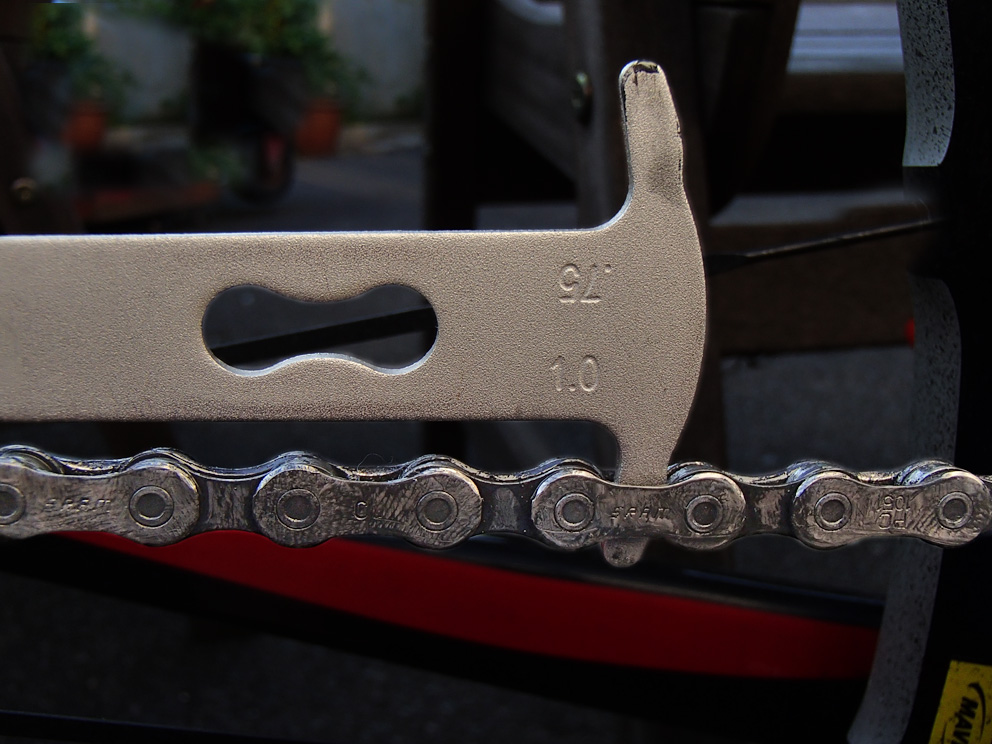
It wouldn’t insert fully. So I don’t have as much as 1.0% stretch. This indicated that there was some chain wear and that I should replace the chain. Some people advise that if you have 1.0% stretch or more then you should replace the cassette as well as the chain.
To replace my chain I used the following items: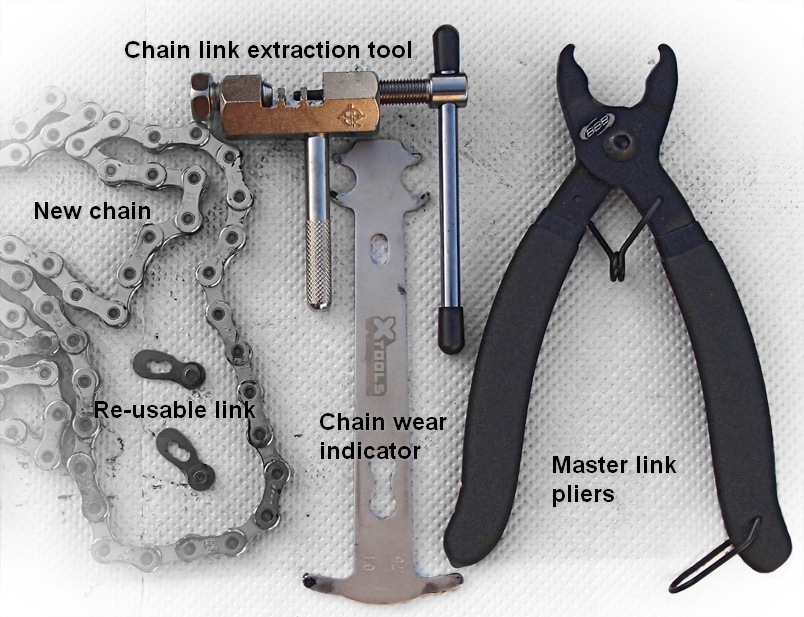
The first job was to remove the master link on my existing chain using the link pliers:
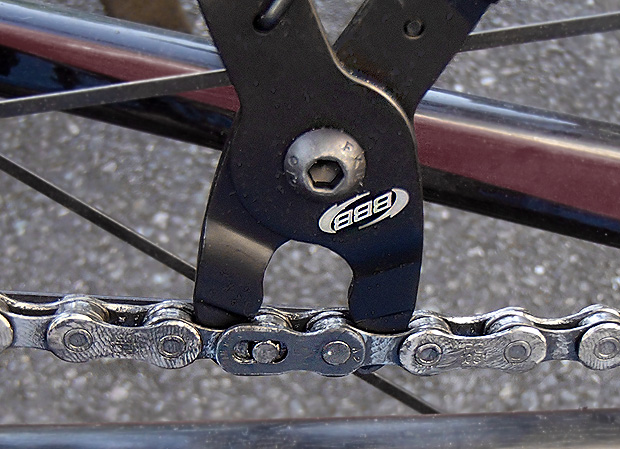 I just squeezed the link and pulled it apart:

The new chain had more links than my old one so I had to remove two links from the new chain using the chain link extractor. The tool removes the pin by pushing it all the way through the link as you turn the handle: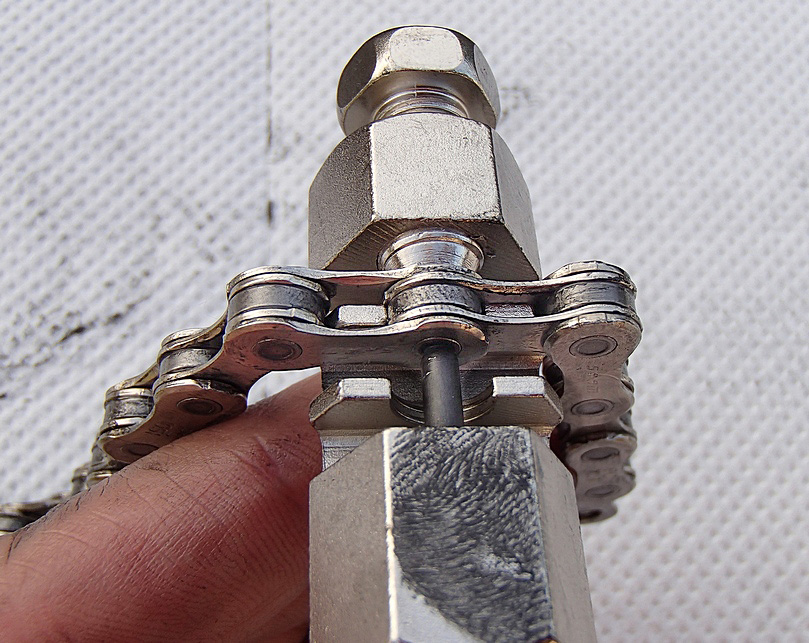
I lined up my new chain next to the old one to see how much the old one had stretched: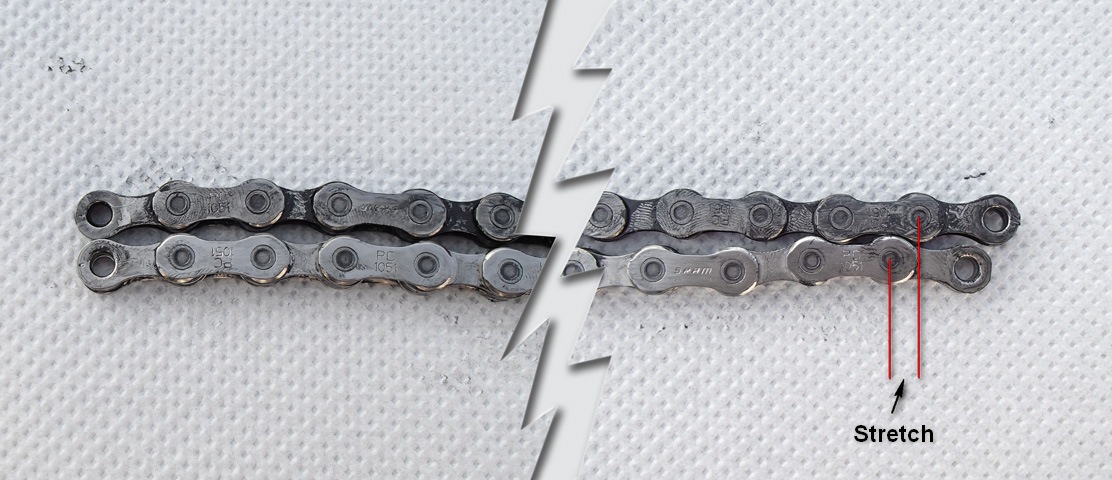
The old chain was 4 or 5 mm longer than the new one!
The new chain came with a SRAM Powerlock chain connector. These are designed to be used once only. I wanted a connector that would allow me to remove the chain for cleaning every once in a while and re-connect it multiple times. I chose to fit a Wippermann Connex 10-speed chain link:
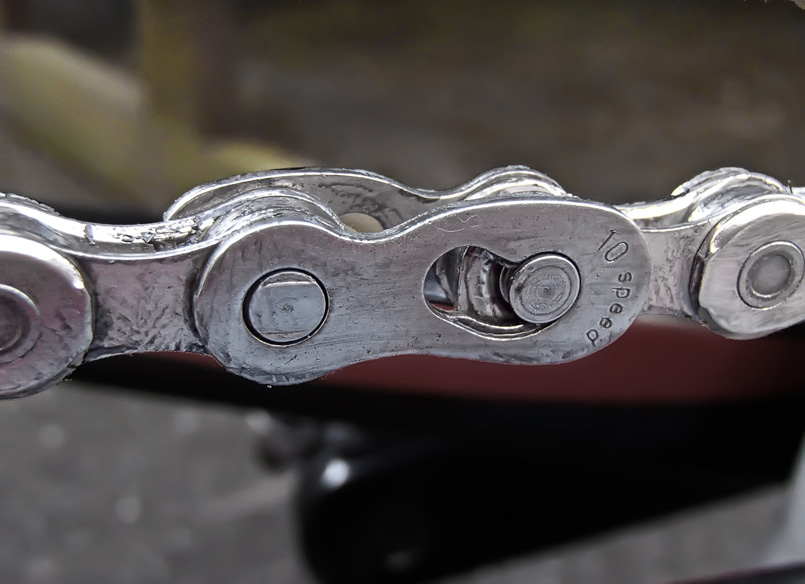 The Wippermann link can be fitted and removed by hand, without any special tools.
Once I had fitted the new chain I went out for a test-ride. The new chain felt much smoother and quieter than the old one. Job done!
Edit 17/03/14: Section from the manual for correct orientation.
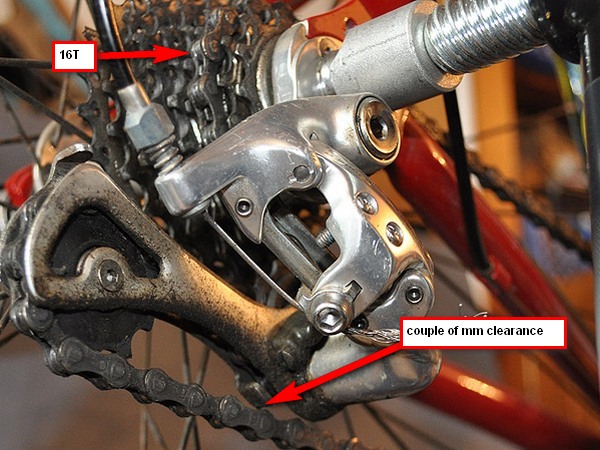
I can’t remember the actual reason why this all started; I guess I just figured that I could tackle some steeper hills with confidence if I had some lower-ratio gears. So I considered the possibility of fitting a smaller granny ring to my Campag Veloce triple (52Tx42Tx30T) on my Giant TCR 3. I called my LBS …