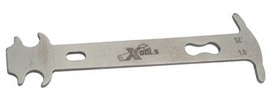
I decided to check the wear on my bike chain to see if it needed replacing. This is something I have never done before! My latest bike has done well over 2000 miles so I thought I had better check it. So I bought a When I googled how to use it I discovered that you don’t need any tool other than a steel rule to measure the chain with! And this method is even more accurate, although slightly more fiddly, than using the special tool, apparently.
The reason for replacing the chain is that it gradually wears and ‘stretches’. That doesn’t mean that any of the steel actually distorts, merely that the chain gets slightly longer due to internal wear on the rollers. This causes the chain links to no longer engage accurately with the teeth on the sprockets. This will cause the sprockets to wear, and since chains are cheaper than cassettes it pays to replace the chain regularly to avoid having to replace the cassette.
I used the chain wear indicator to measure the wear on the chain. You just hook one end of the tool into the chain and try to insert the other end. The other end has a single long prong on each side. One of them indicates 0.75% stretch and the other 1.0% stretch. On a new chain you won’t be able to insert either of the prongs. Here you can see on mine that I can insert the 0.75% prong: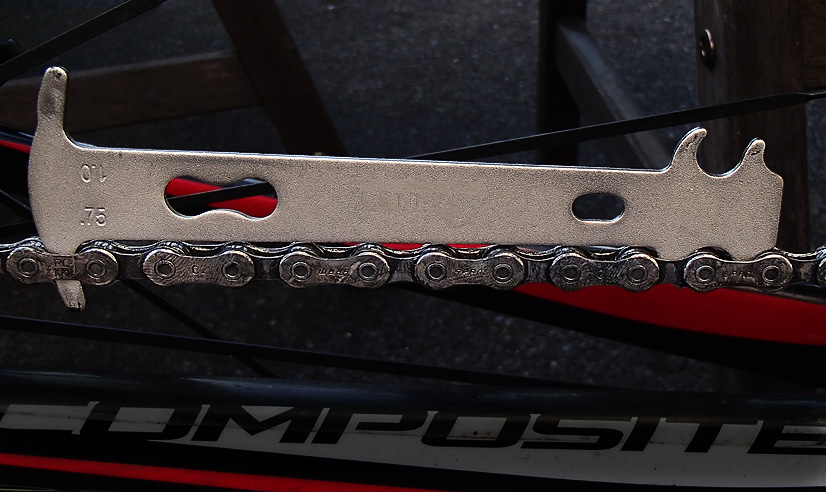
That means that there is at least 0.75% stretch. Then I tried to insert the other prong: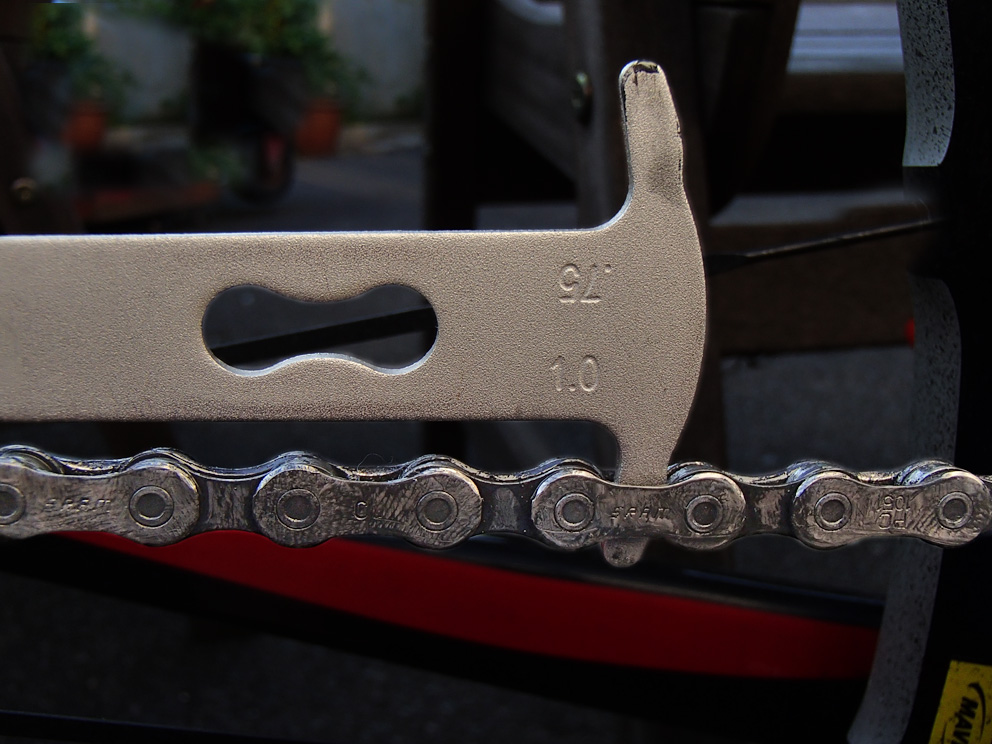
It wouldn’t insert fully. So I don’t have as much as 1.0% stretch. This indicated that there was some chain wear and that I should replace the chain. Some people advise that if you have 1.0% stretch or more then you should replace the cassette as well as the chain.
To replace my chain I used the following items: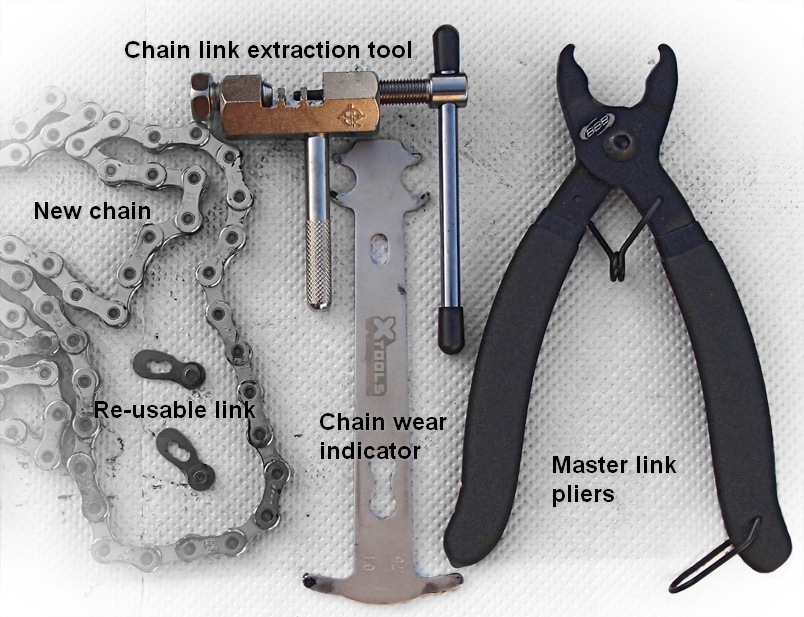
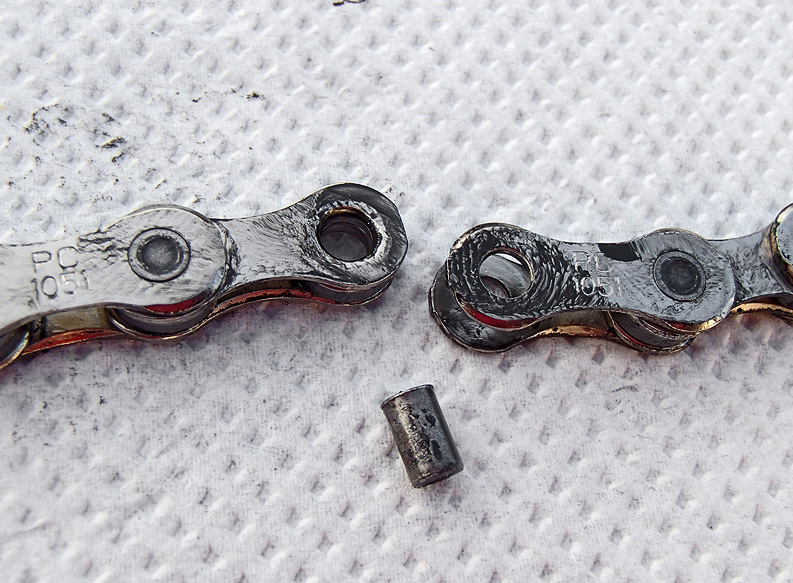
The first job was to remove the master link on my existing chain using the link pliers:
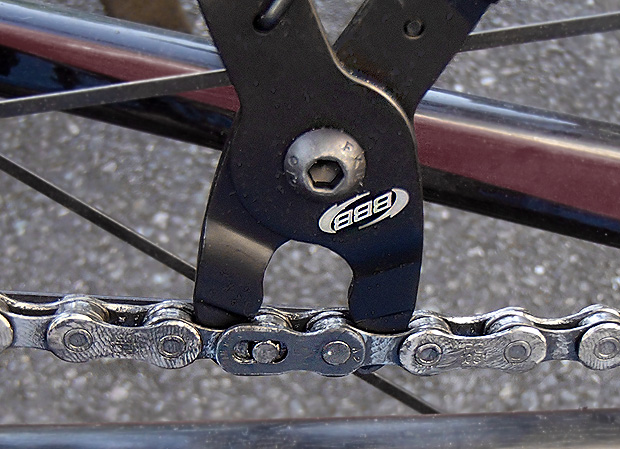 I just squeezed the link and pulled it apart:

The new chain had more links than my old one so I had to remove two links from the new chain using the chain link extractor. The tool removes the pin by pushing it all the way through the link as you turn the handle: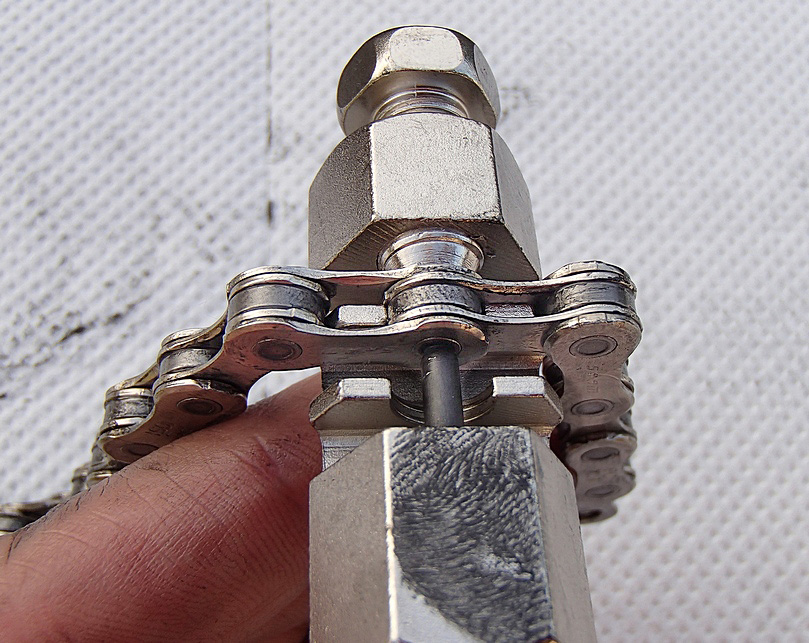
I lined up my new chain next to the old one to see how much the old one had stretched: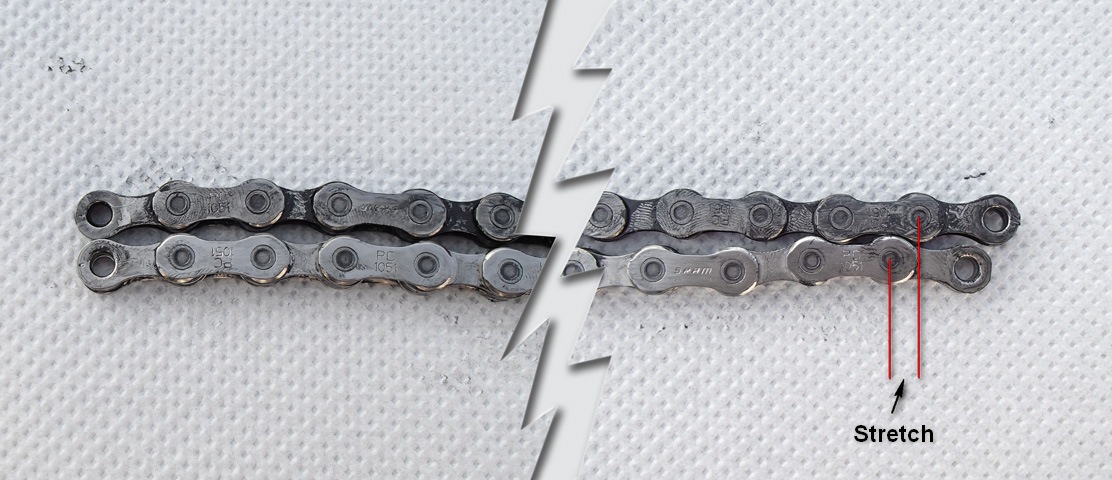
The old chain was 4 or 5 mm longer than the new one!
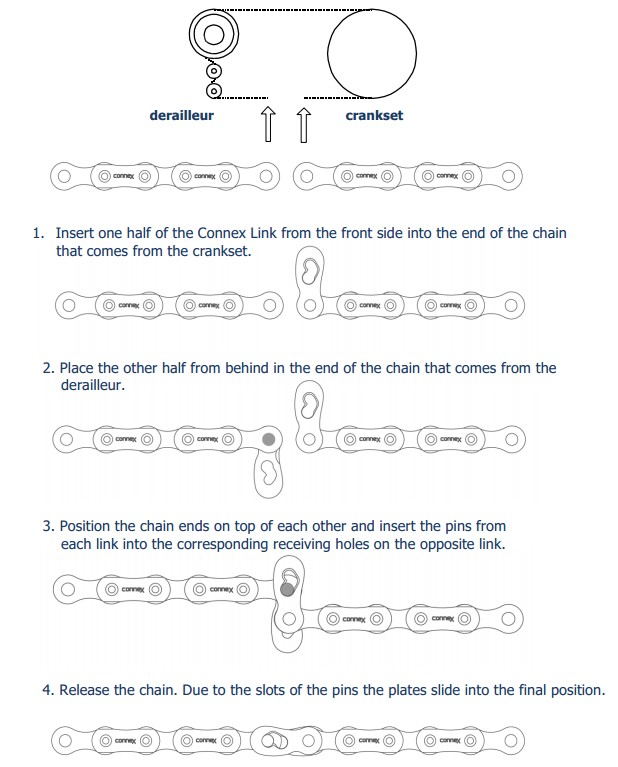
The new chain came with a SRAM Powerlock chain connector. These are designed to be used once only. I wanted a connector that would allow me to remove the chain for cleaning every once in a while and re-connect it multiple times. I chose to fit a Wippermann Connex 10-speed chain link:
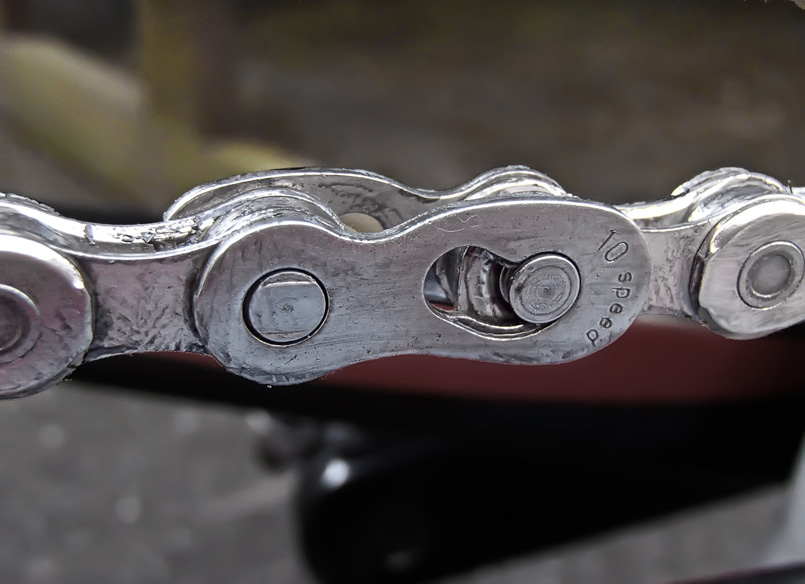 The Wippermann link can be fitted and removed by hand, without any special tools.
Once I had fitted the new chain I went out for a test-ride. The new chain felt much smoother and quieter than the old one. Job done!
Edit 17/03/14: Section from the manual for correct orientation.
