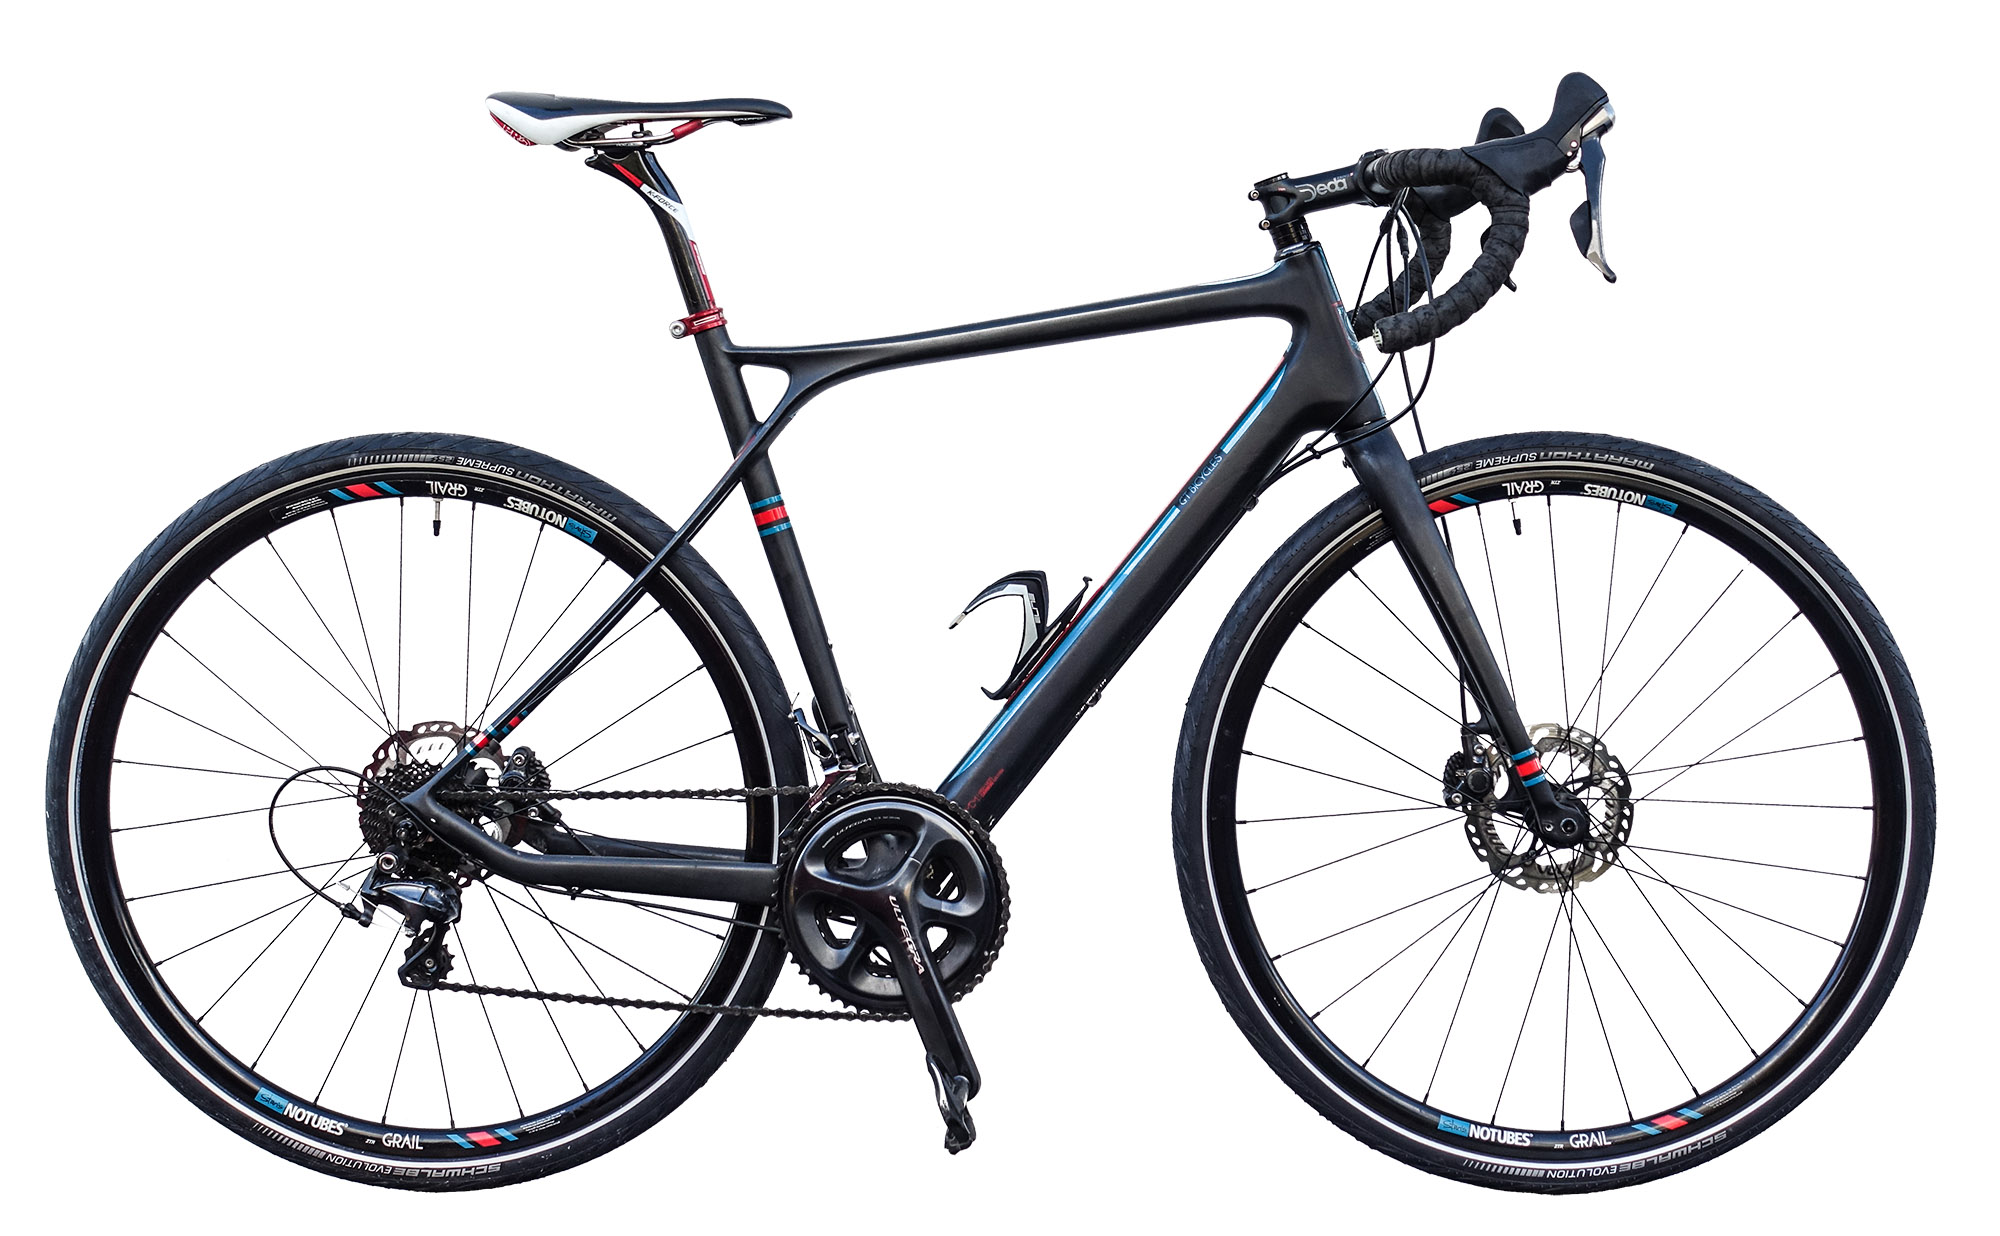
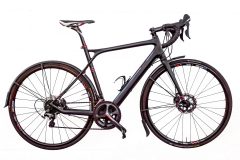
Following on from my last post, I have now fitted fat (for me) tyres to my GT Grade, and found out stuff along the way. Here’s how it went.
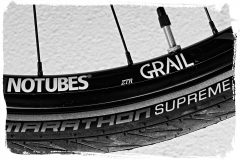
Schwalbe Marathon Supreme 35c Tyres
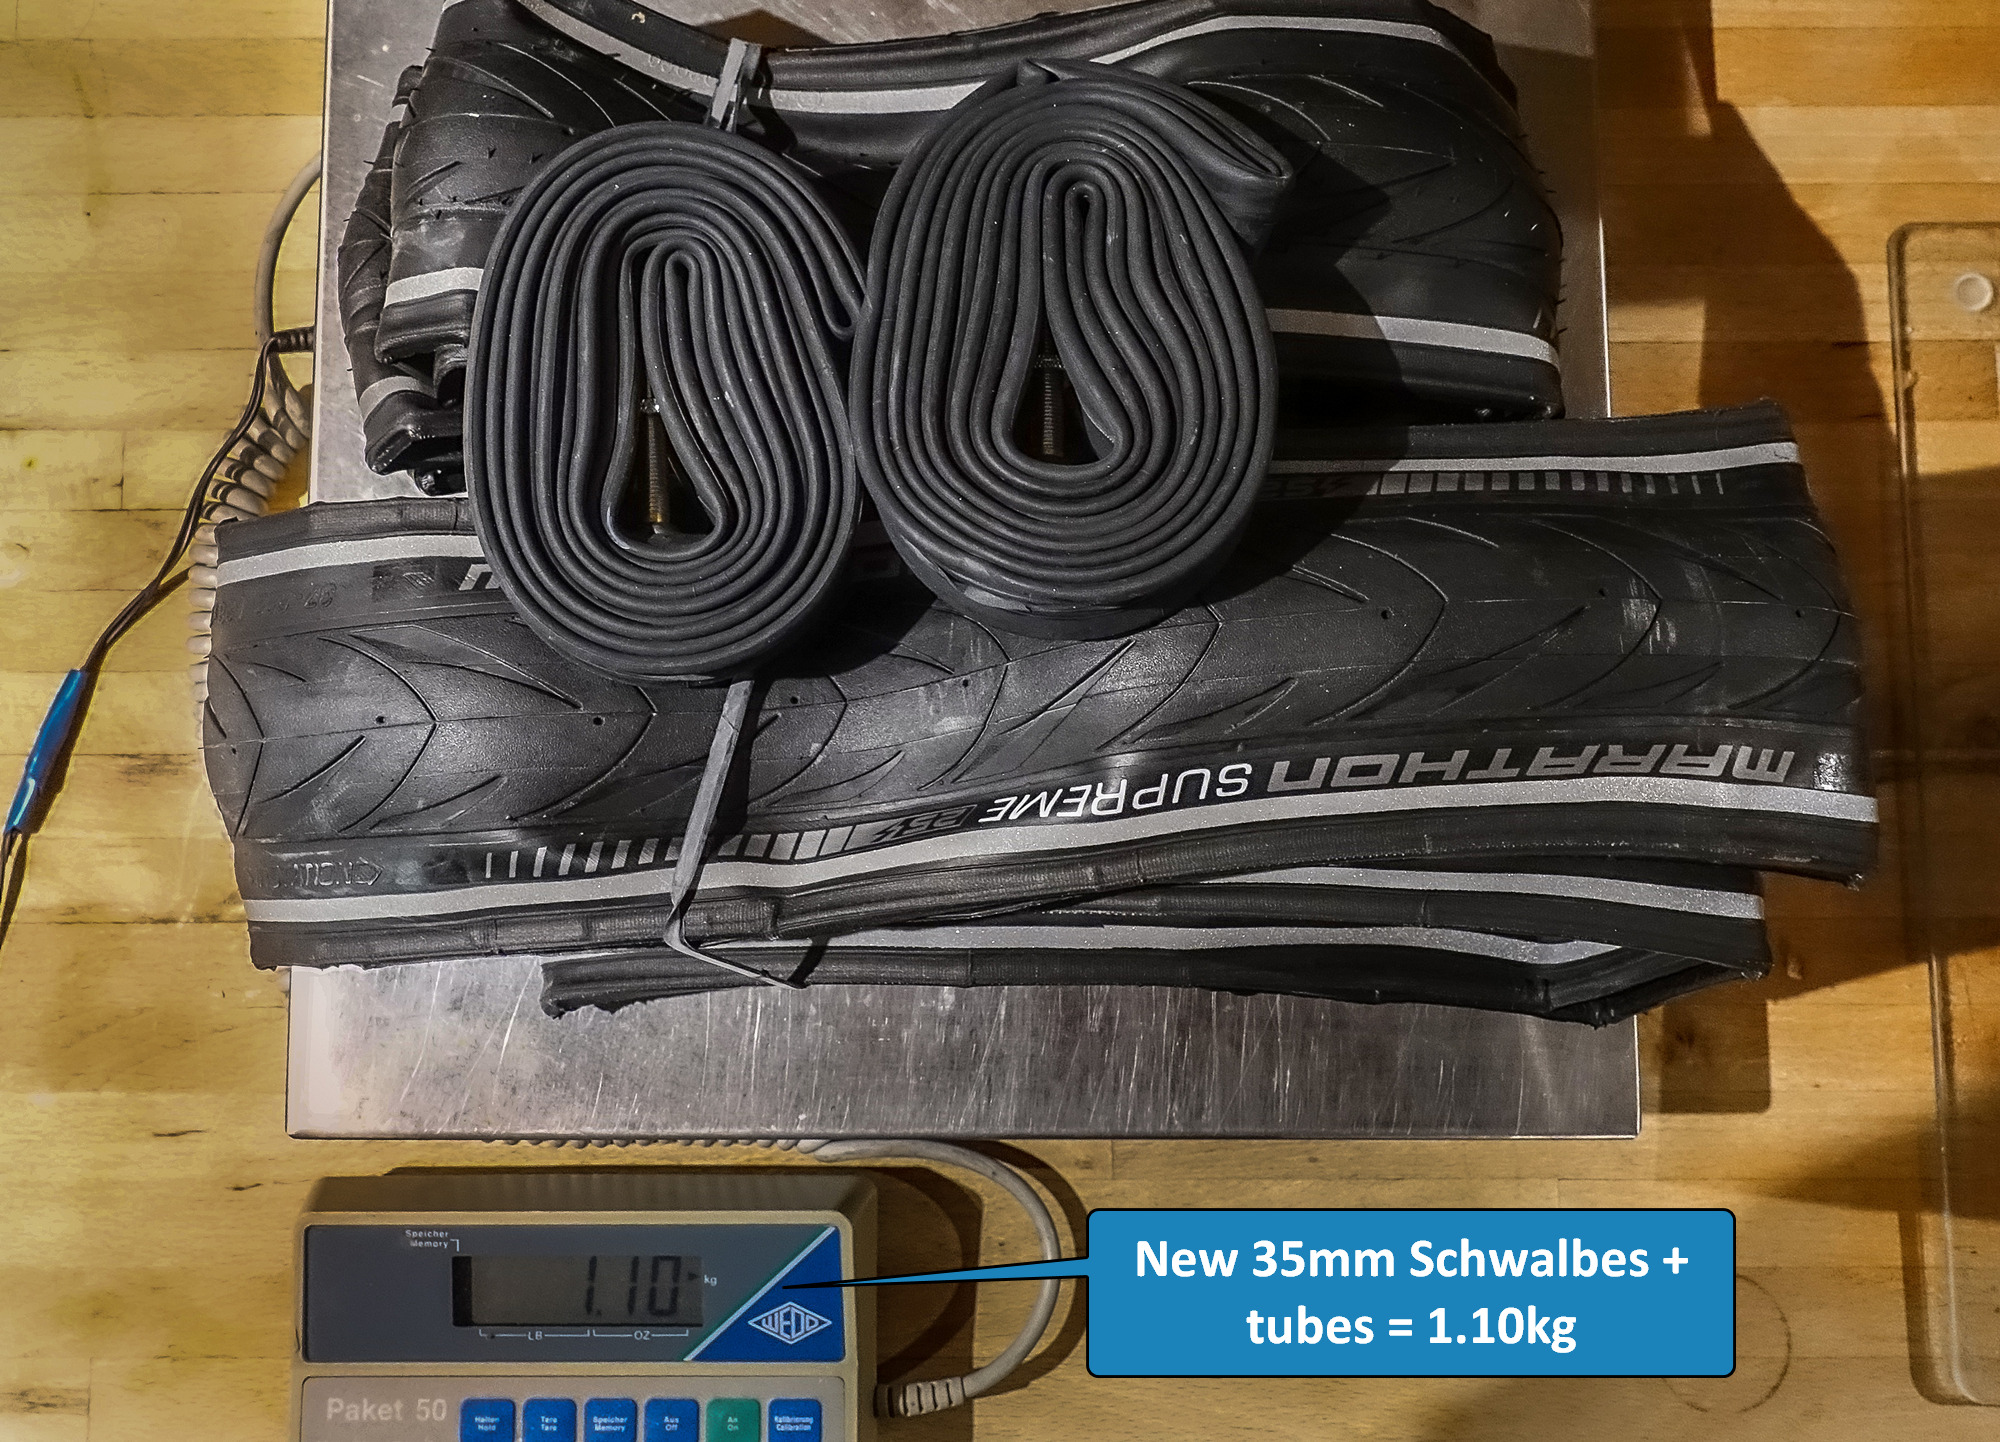
A gravel bike with 25mm tyres seemed a nonsense, so I bought two new Schwalbe Marathon Supreme 700c x 35c folding bead tyres, but decided not to go the tubeless route just yet, so I got two inner tubes as well. Obviously this followed loads of research about how big I could go (clearance-wise) and what tyres got good reports from users. These Schwalbes seemed to be fairly light and good for road as well as gravel. And they have a reflective bead around the tyre so could look cool on a night ride (from the side at least)!
Mudguards
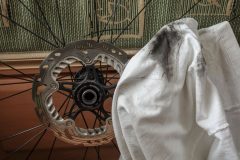
The first thing to do was to remove the mudguards from the bike, and there I met my first hurdle – I didn’t know how to get the front wheel off the bike! I flipped the quick-release lever back as usual and turned, but nothing was coming loose – it was just turning. This was the first time I had encountered a through-axle . I quickly googled, and discovered you have to align the notch in the lever with flats on the axle and turn, using the lever as a spanner really.
I removed the through axle and was pleased to find everything in good condition. With the wheel off, I removed the two mudguard bolts at the bottom of the fork. These were tight the whole way. It felt like locktite had been used. Then I turned to the remaining bolt at the top of the forks.
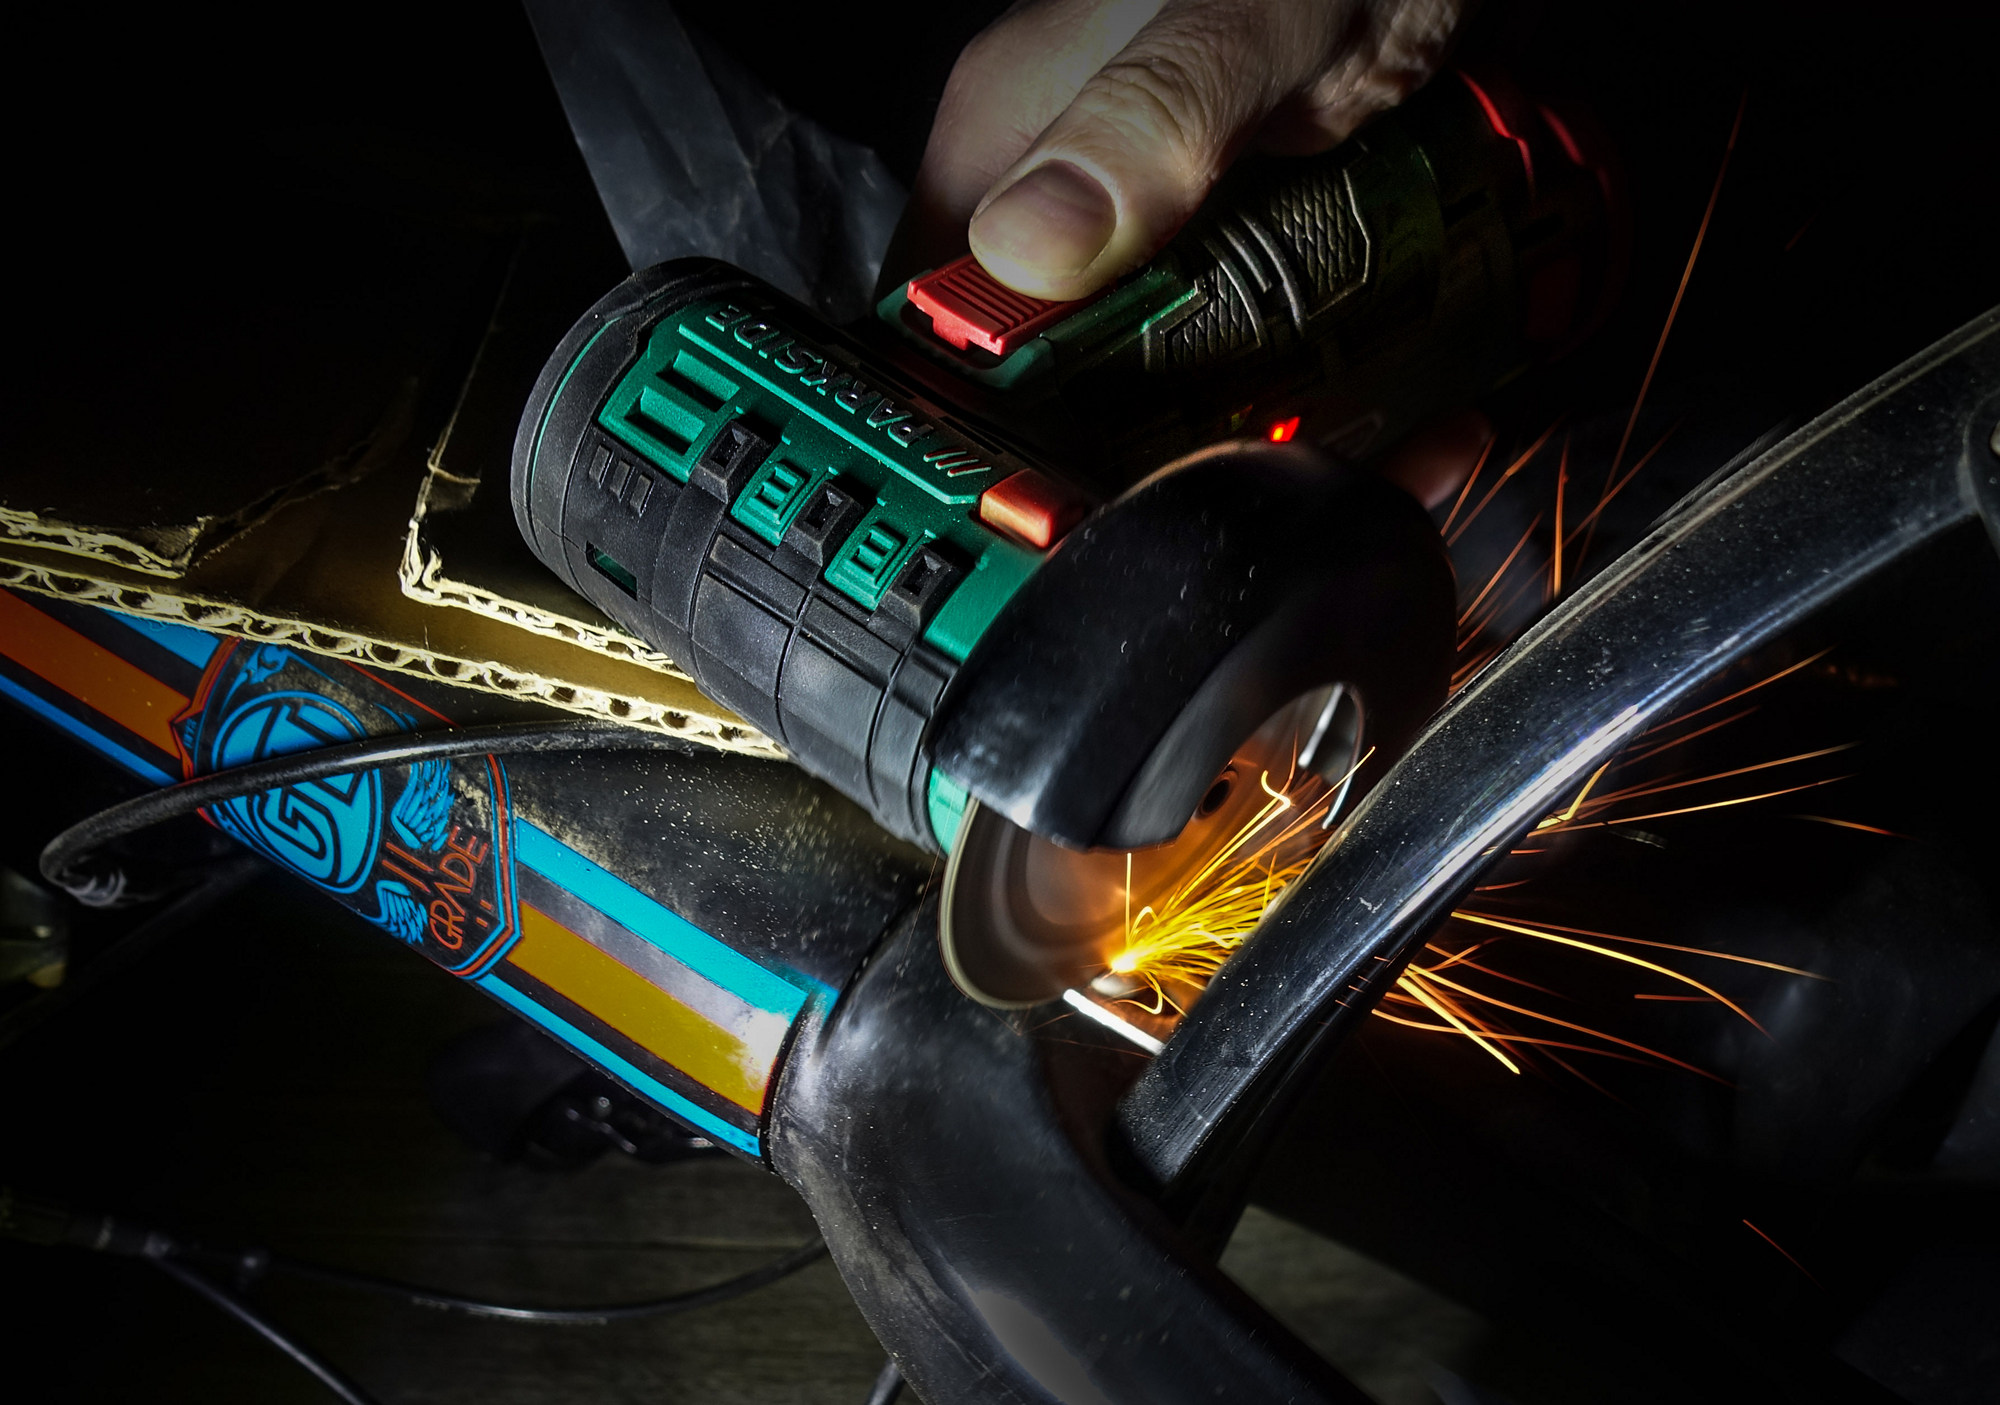
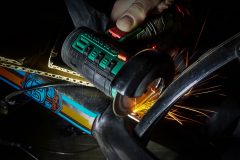
I put an allen key in, but it felt loose so I tried the next size up – nope, that was too big. I tried removing the bolt with the first allen key, which was obviously the right one, but it just wouldn’t grip, even trying the trick of holding it at an angle. Not in the mood to mess about any further, I set my mini angle grinder loose on it. I used a sheet of cardboard to prevent any filings getting on the bike.
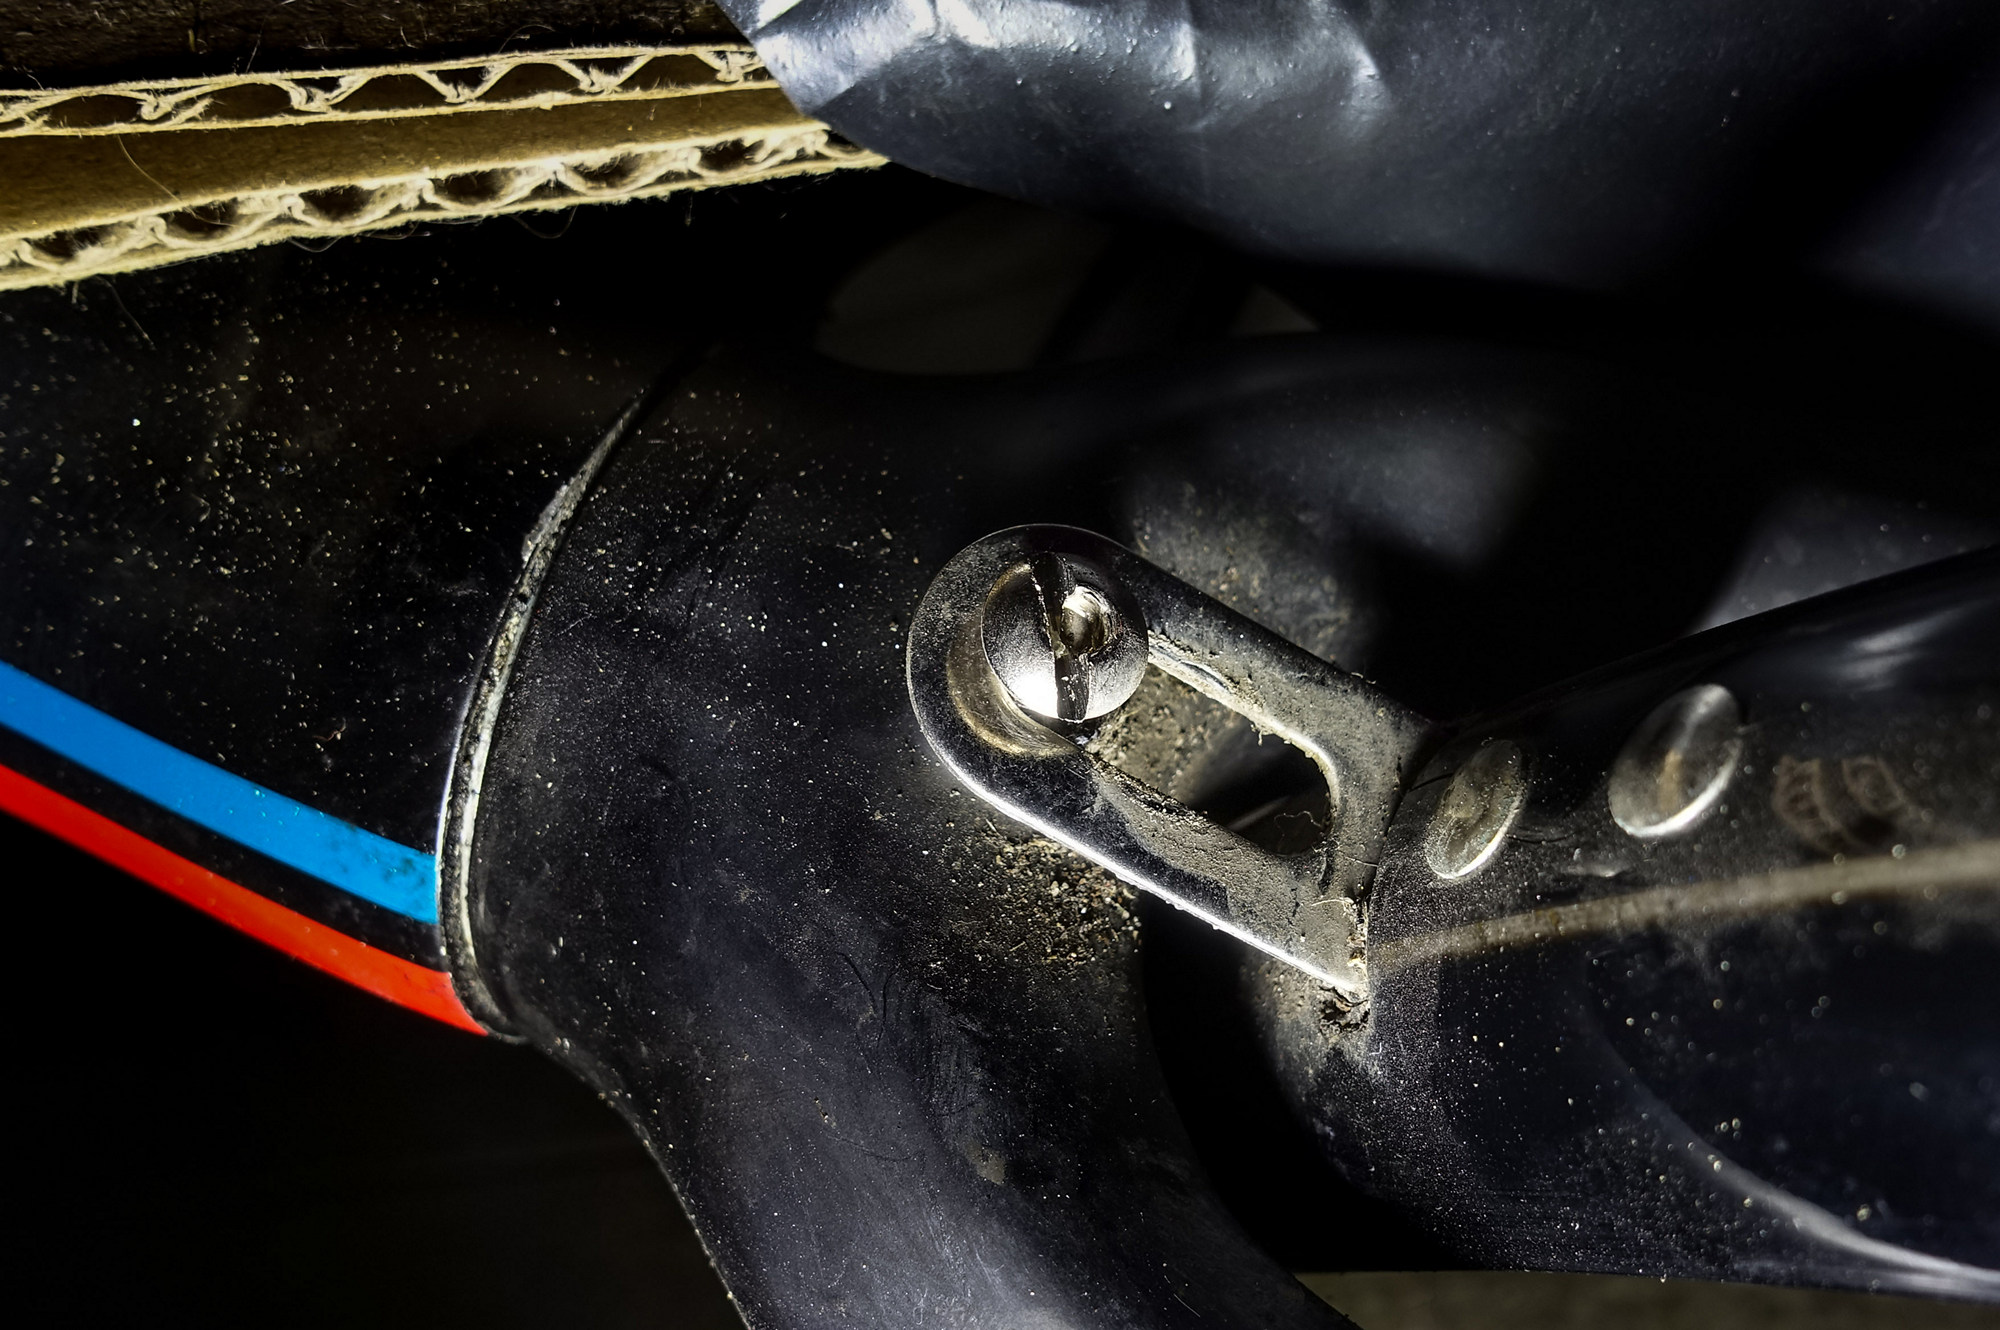
I was originally intending to grind the head of the bolt right off, but decided to stop once I had formed a slot in the bolt head
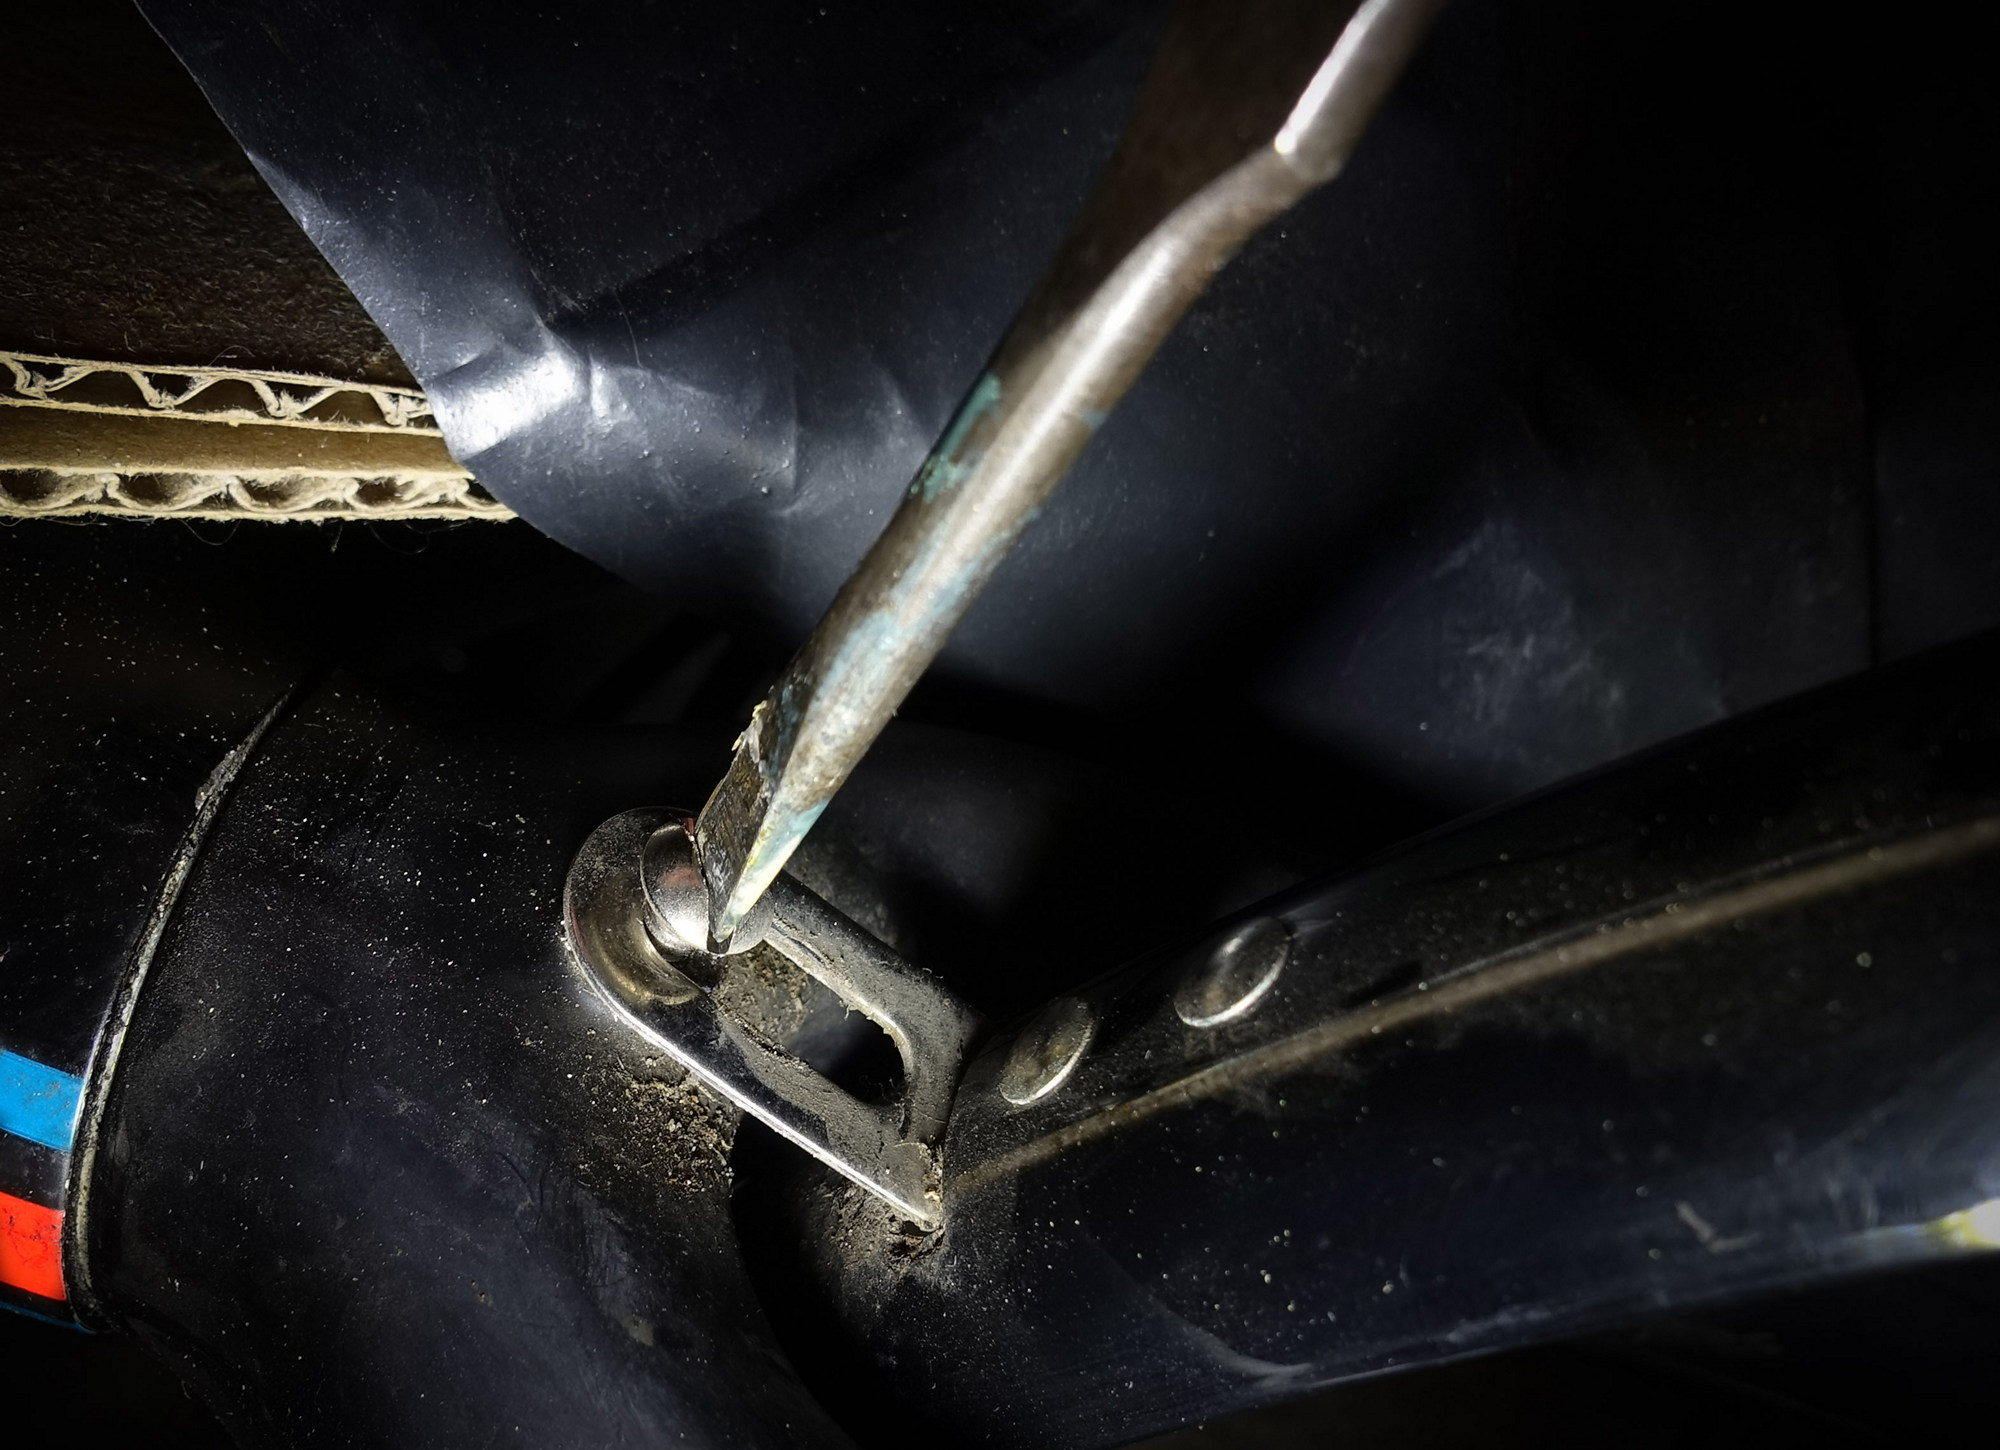
I found it easy to unscrew using a ‘normal’ screwdriver
You can’t beat a good old-fashioned flat head screwdriver. Time to remove the rear mudguard. This time my spanner was slipping on the bolt near the rear drop-outs. I tried using an impact driver on the cross-head slot in the bolt head, but that just spun. In the end, just before reaching for the angle-grinder again, I managed to just get enough grip with my spanner to unscrew both bolts. Again they were tight the whole way – damn thread-lock! At the top, the mudguard was held by a bracket held on with rubber bands,
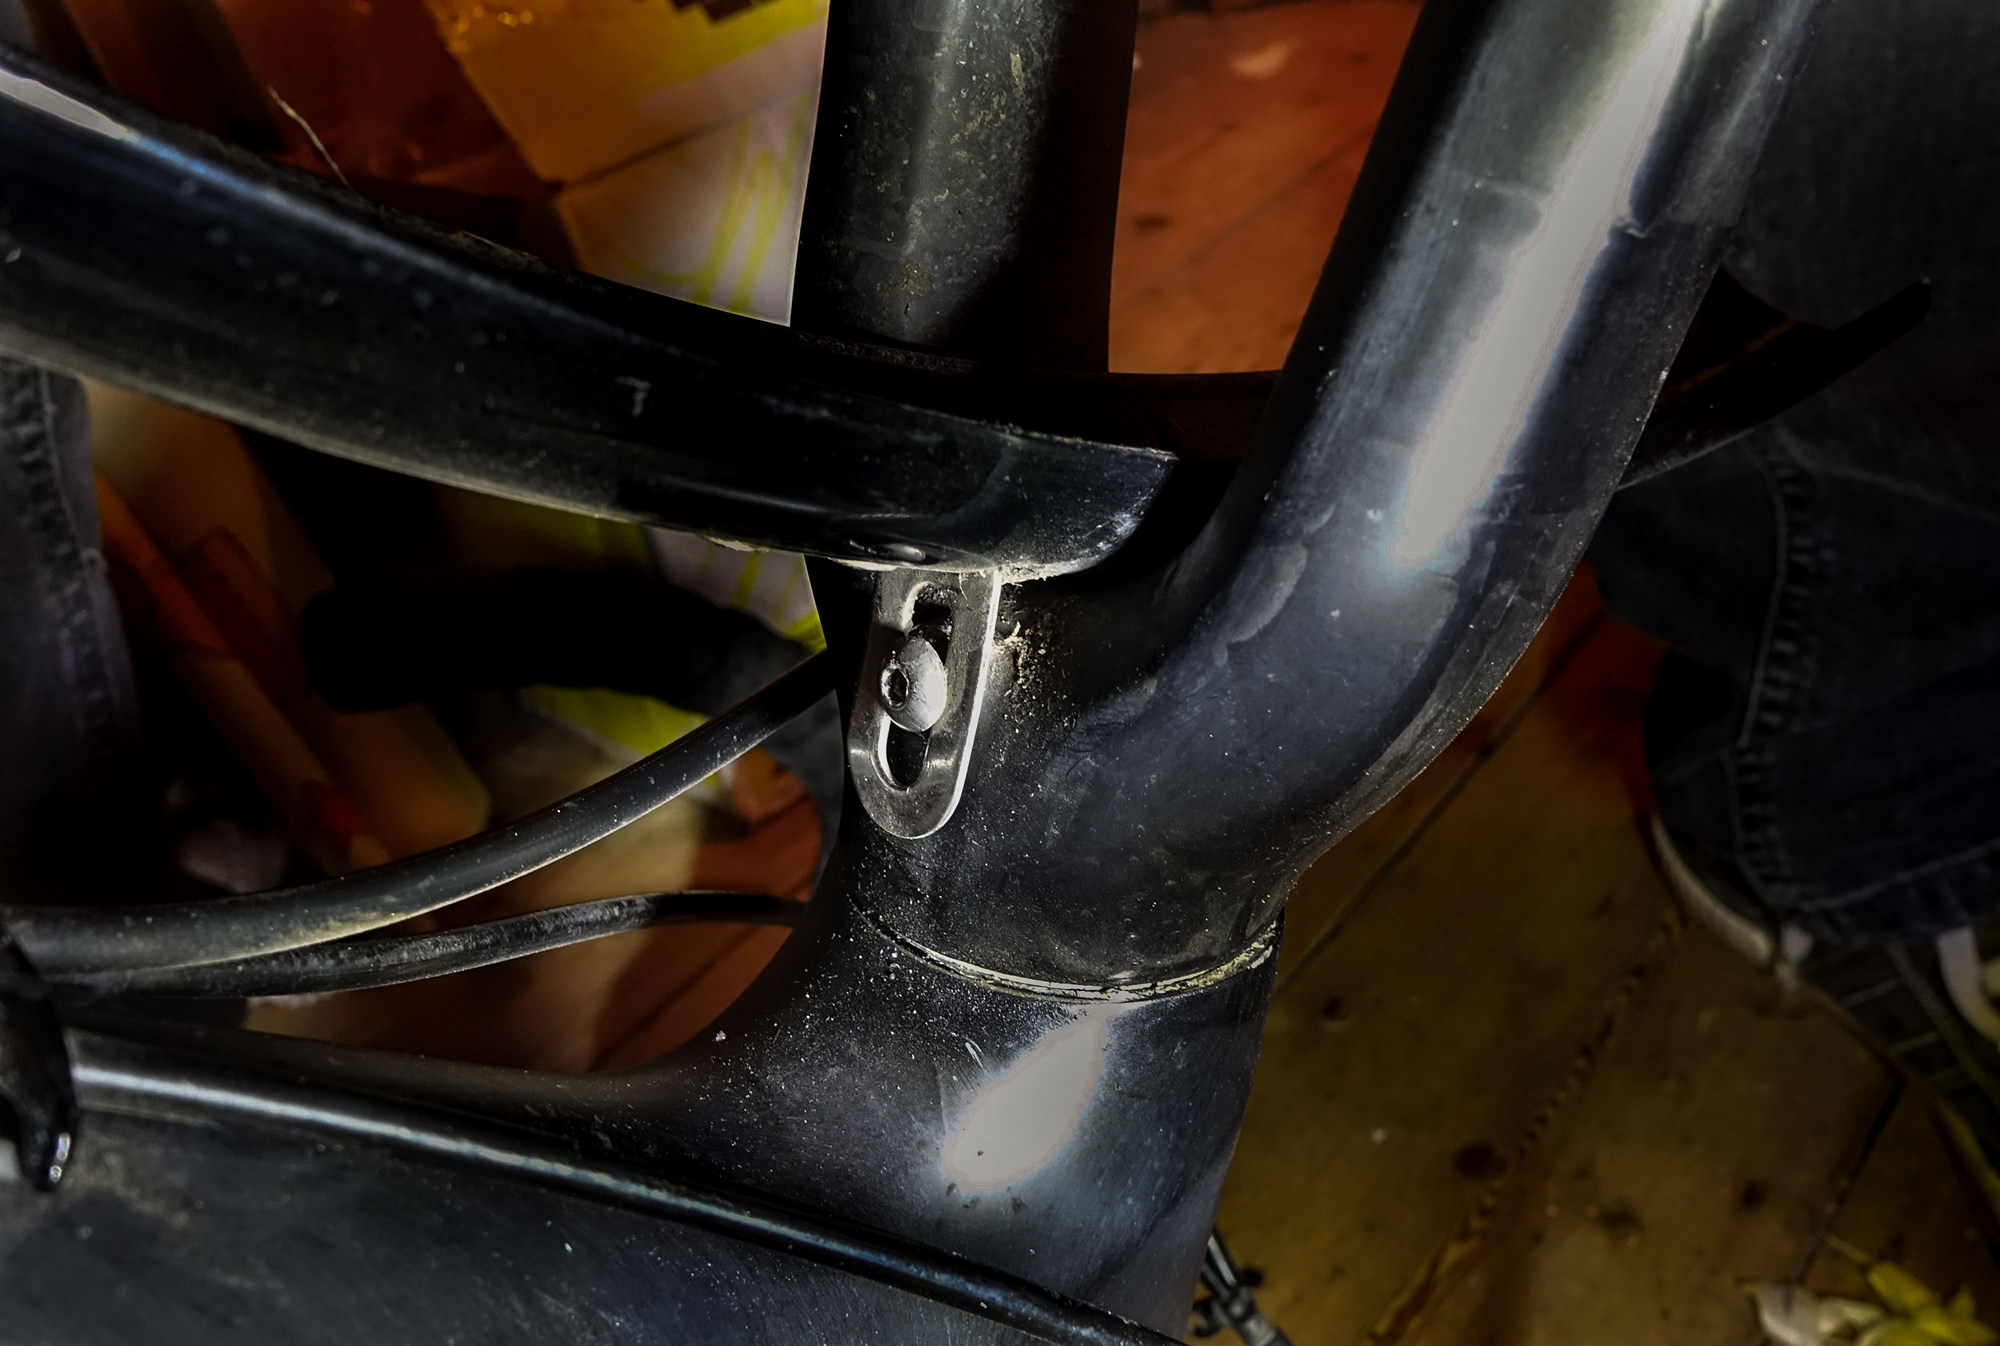
so that was easy to remove, leaving just the remaining allen bolt behind the bottom bracket, the same size as the tricky front one. I was dreading this because there was no room for an angle grinder. I scraped all the dirt out from the allen bolt recess using a pin. Luckily this one was fine and, although tight again, eventually came out. What a palaver for what should have been a simple job!
With the bike upside down, in direct contravention of the rules,
Rule #49: Keep the rubber side down
It is completely unacceptable to intentionally turn one’s steed upside down for any reason under any circumstances. Besides the risk of scratching the saddle, levers and stem, it is unprofessional and a disgrace to your loyal steed. The risk of the bike falling over is increased, wheel removal/replacement is made more difficult and your bidons will leak. The only reason a bicycle should ever be in an upside down position is during mid-rotation while crashing. This Rule also applies to upside down saddle-mount roof bars
Source: The RulesI refitted the wheels (still with 25mm tyres) to make a note of how much clearance there was for the rear wheel/tyre.
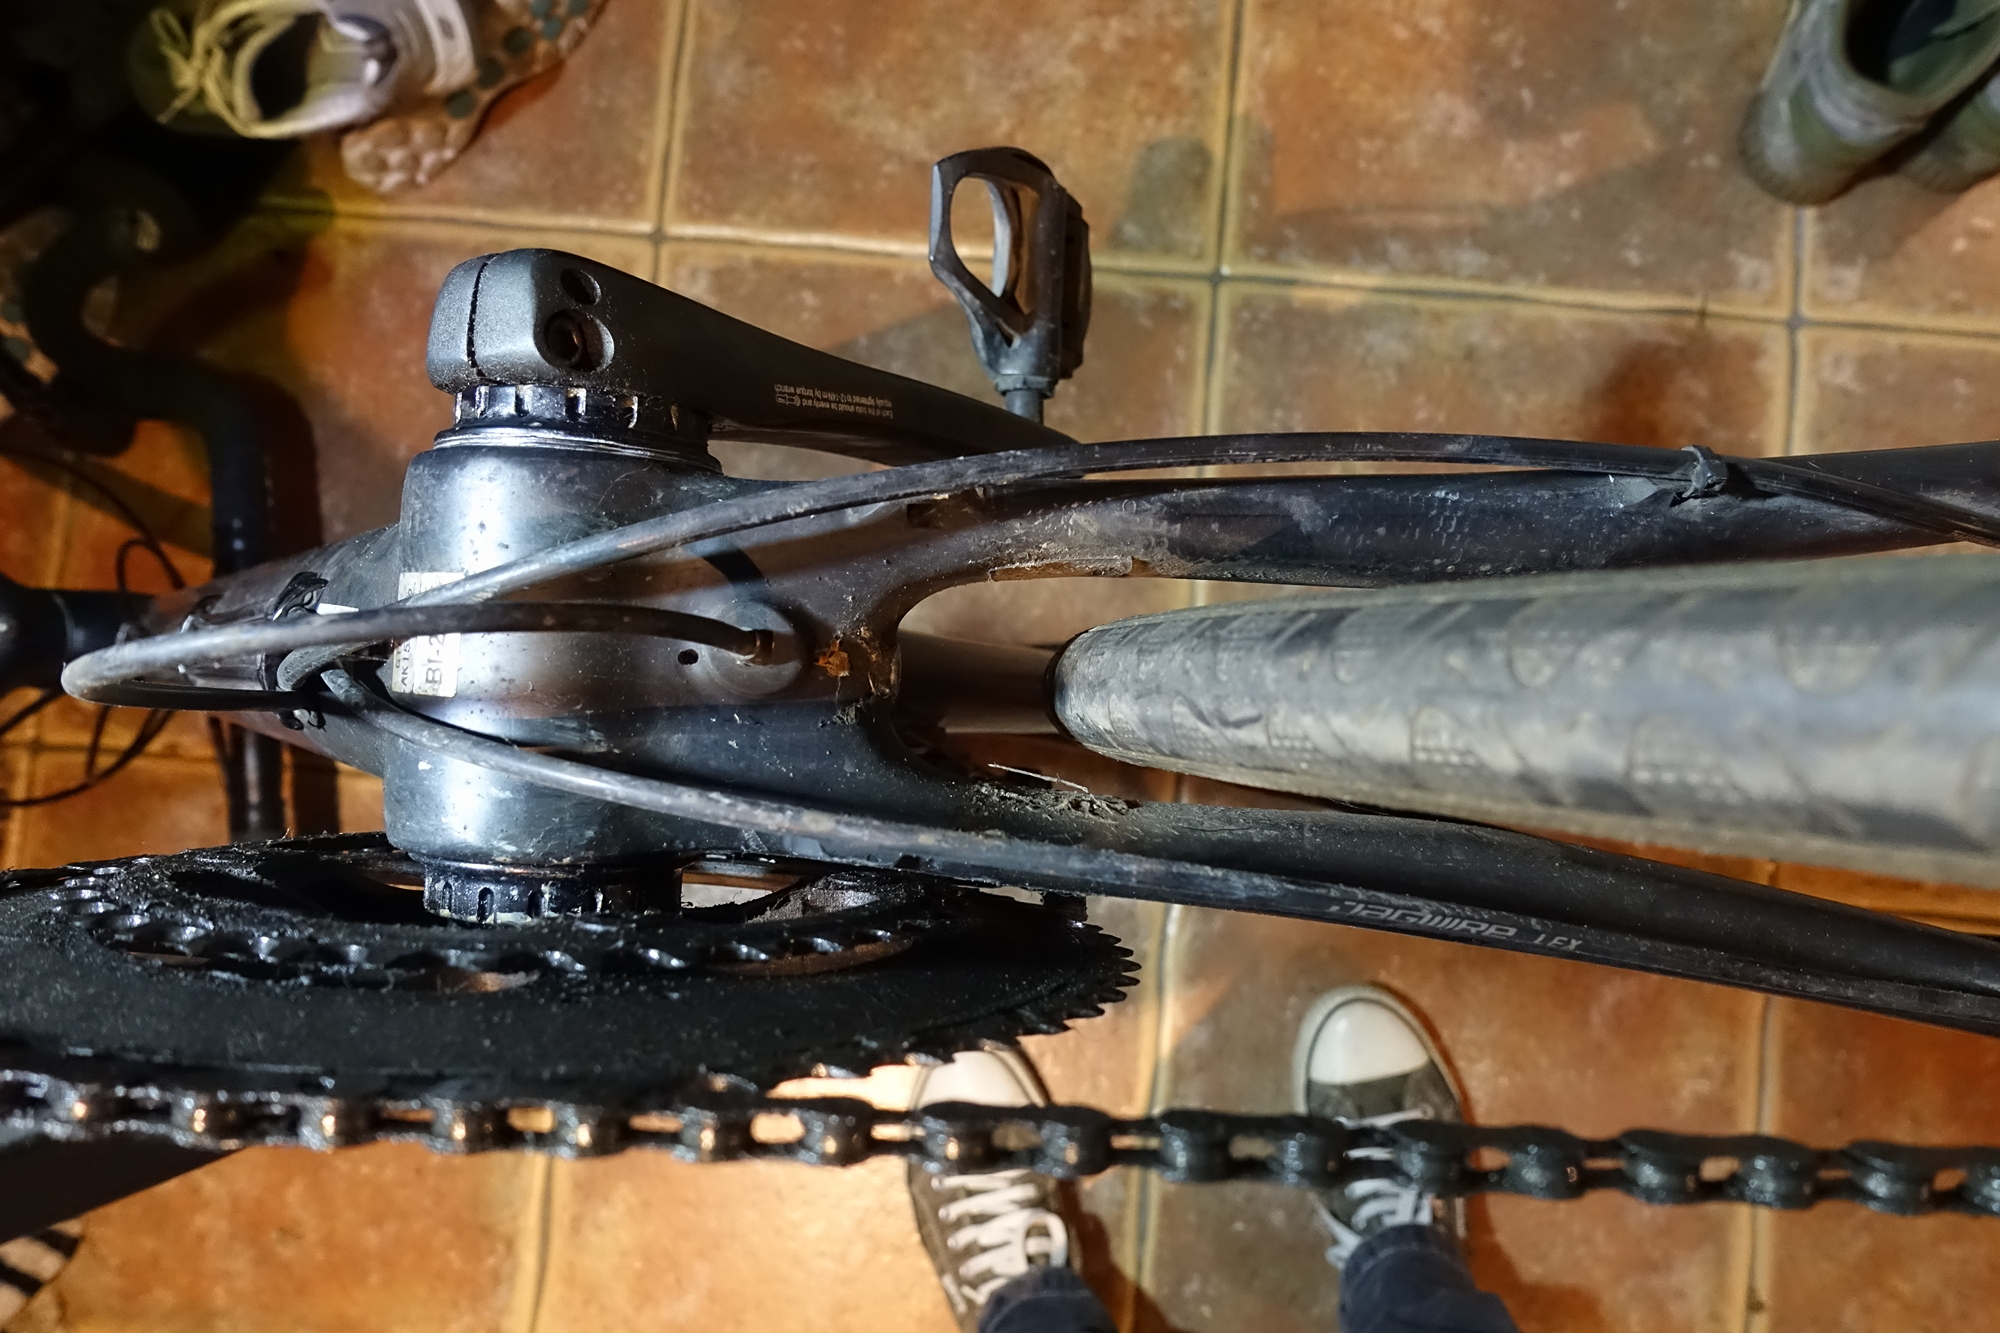
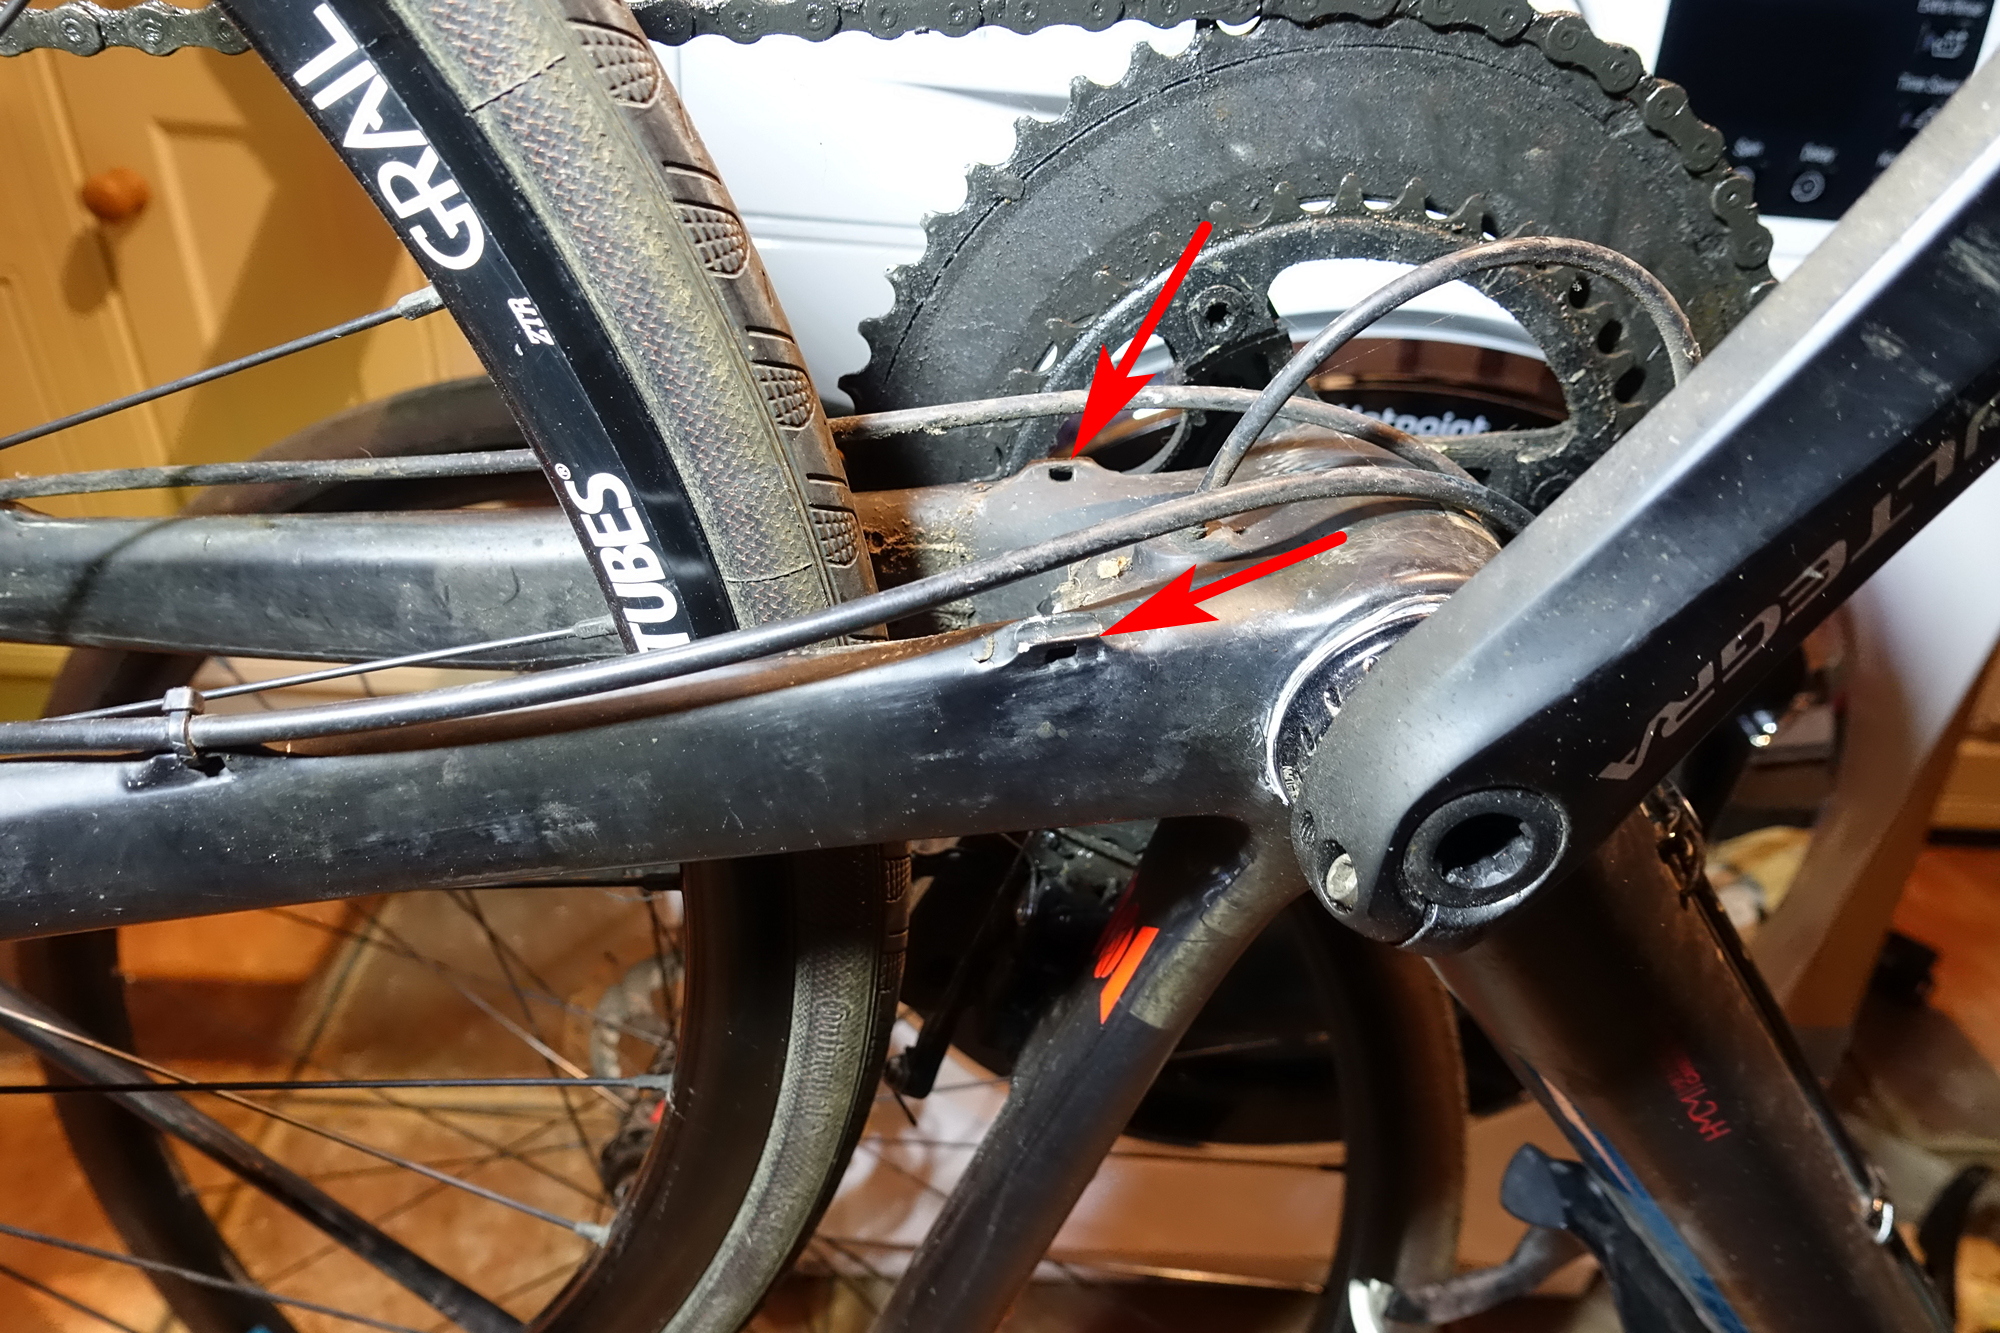
I noticed a couple more cable-ties were missing
The Grade has fully-covered cables. While brilliant for keeping out dirt and water, I wonder if someone has deliberately removed the ties due to cables binding on tight curves.
Next job was to fit the new tyre/tubes. The old ones came off easily and the new ones went on easily – I was able to get them on using just my hands. I pumped them up to 45 psi. Not high, but a pressure that some had reported using, and not much lower than I have in my 28mm tyres. I couldn’t get the bead to seat evenly around the rim. With reference to the white stripe, in some places more or less of the tyre was below the rim. When I spun the wheels there were lumps and unevenness in various places. That can’t be good. I let air out, tried to manually adjust, and then re-inflated. Still no luck.
After googling didn’t get me anywhere, I contacted my cycling friend, Al, who suggested inflating them to a higher pressure than I actually wanted. So I pumped them up some more. As I was doing this I was wincing and bracing myself for a loud bang like you get when a car tyre is being inflated onto the rims. But there were just a couple of barely audible ‘pops’, as the tyre sorted itself out. Both tyres seated perfectly after I got to about 85 psi.
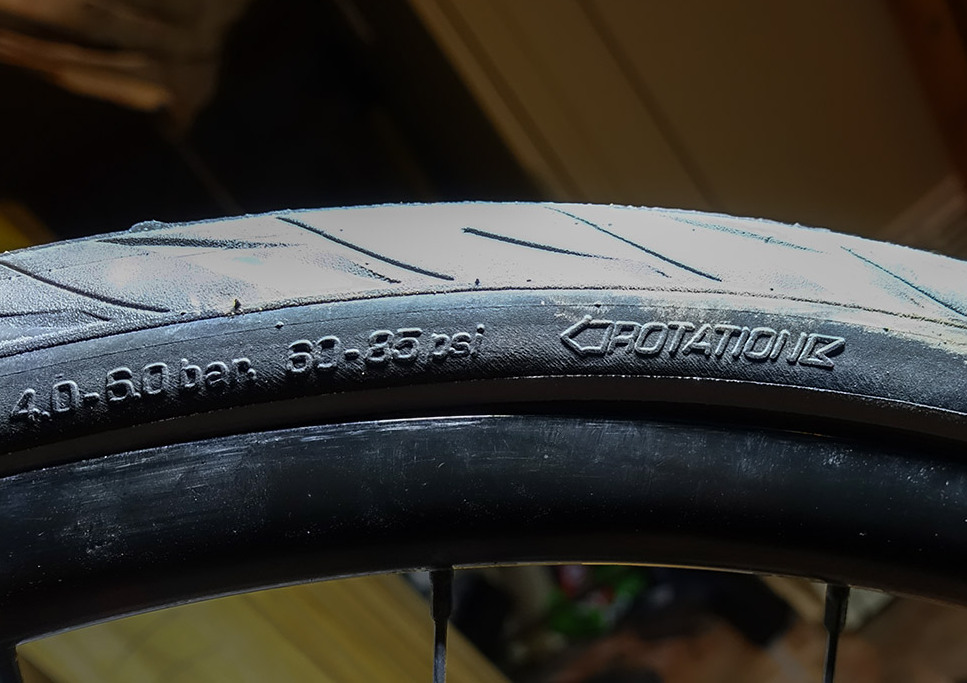
Once the tyres were on, while admiring them, I suddenly wondered if they should have been fitted a particular way, with respect to rotation. I looked at the sidewalls and saw that there was a direction indicator.
Luckily, by pure chance, I had fitted both tyres the correct way! What were the chances of that? (Well, obviously 25%, or one-in-four).
Weights
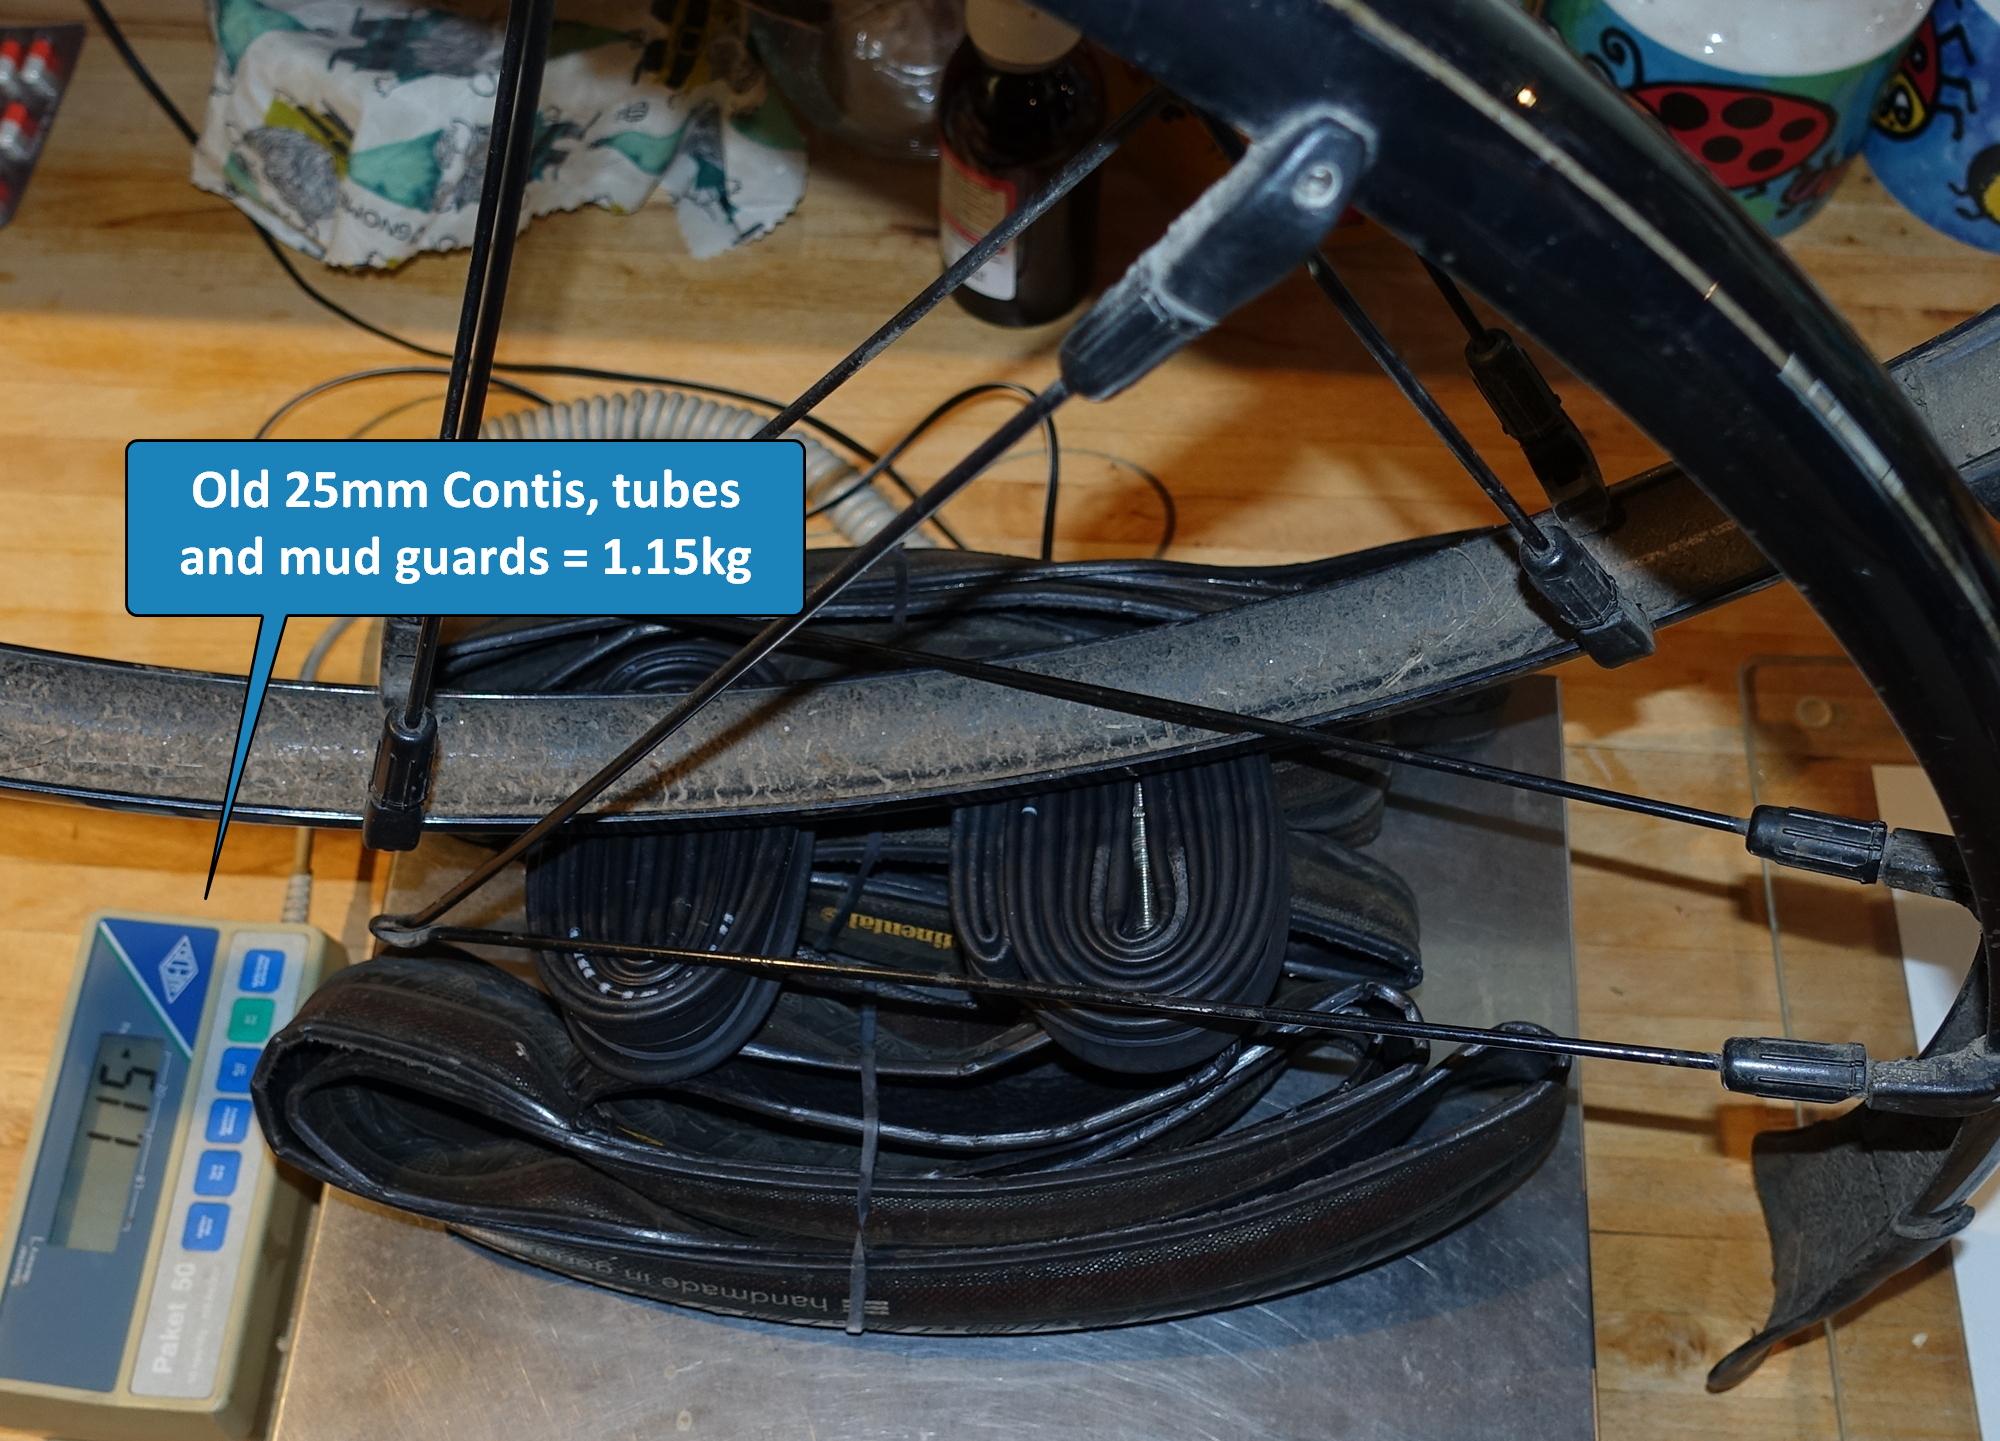
Taking the mudguards off had compensated for the extra weight of the new tyres and tubes.
In fact I was 50g up on the deal!
Clearance
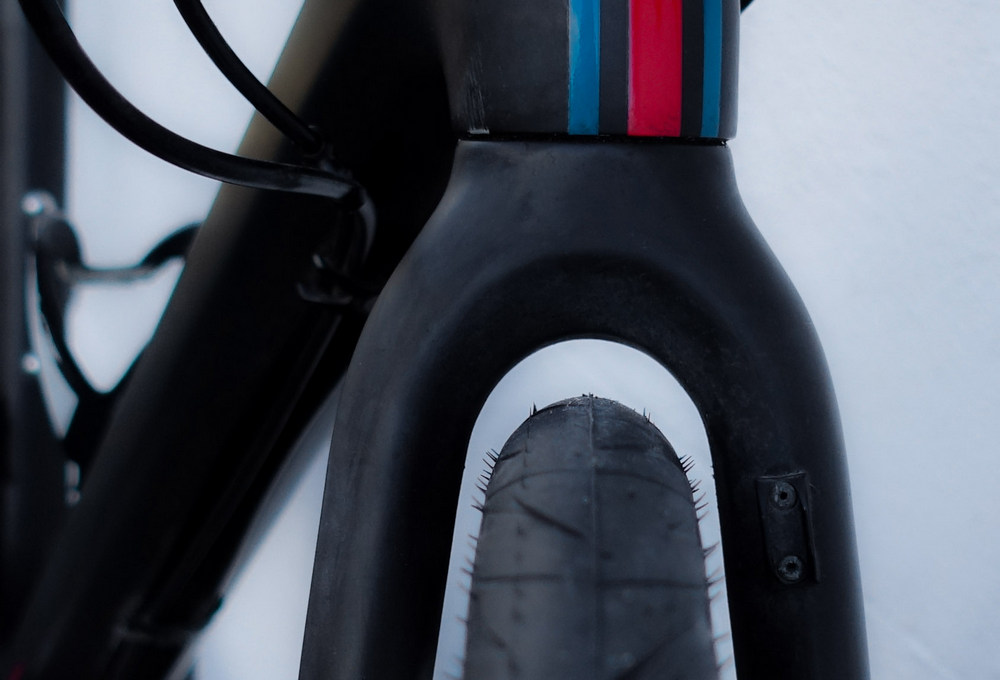
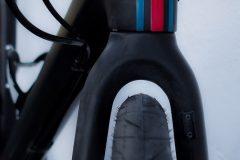
Plenty at the front
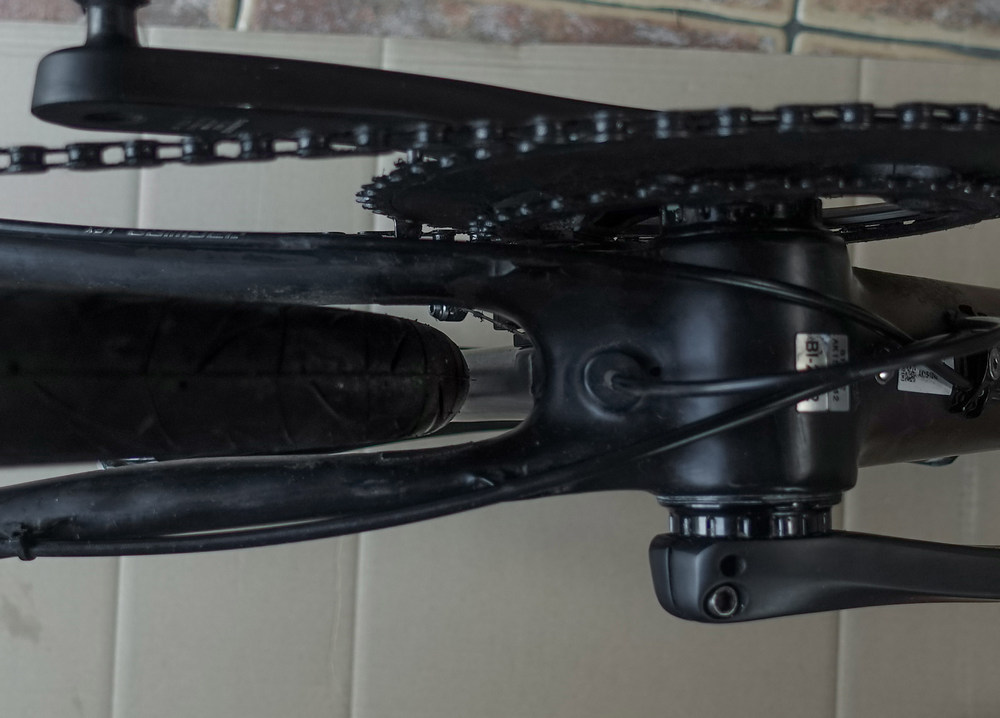
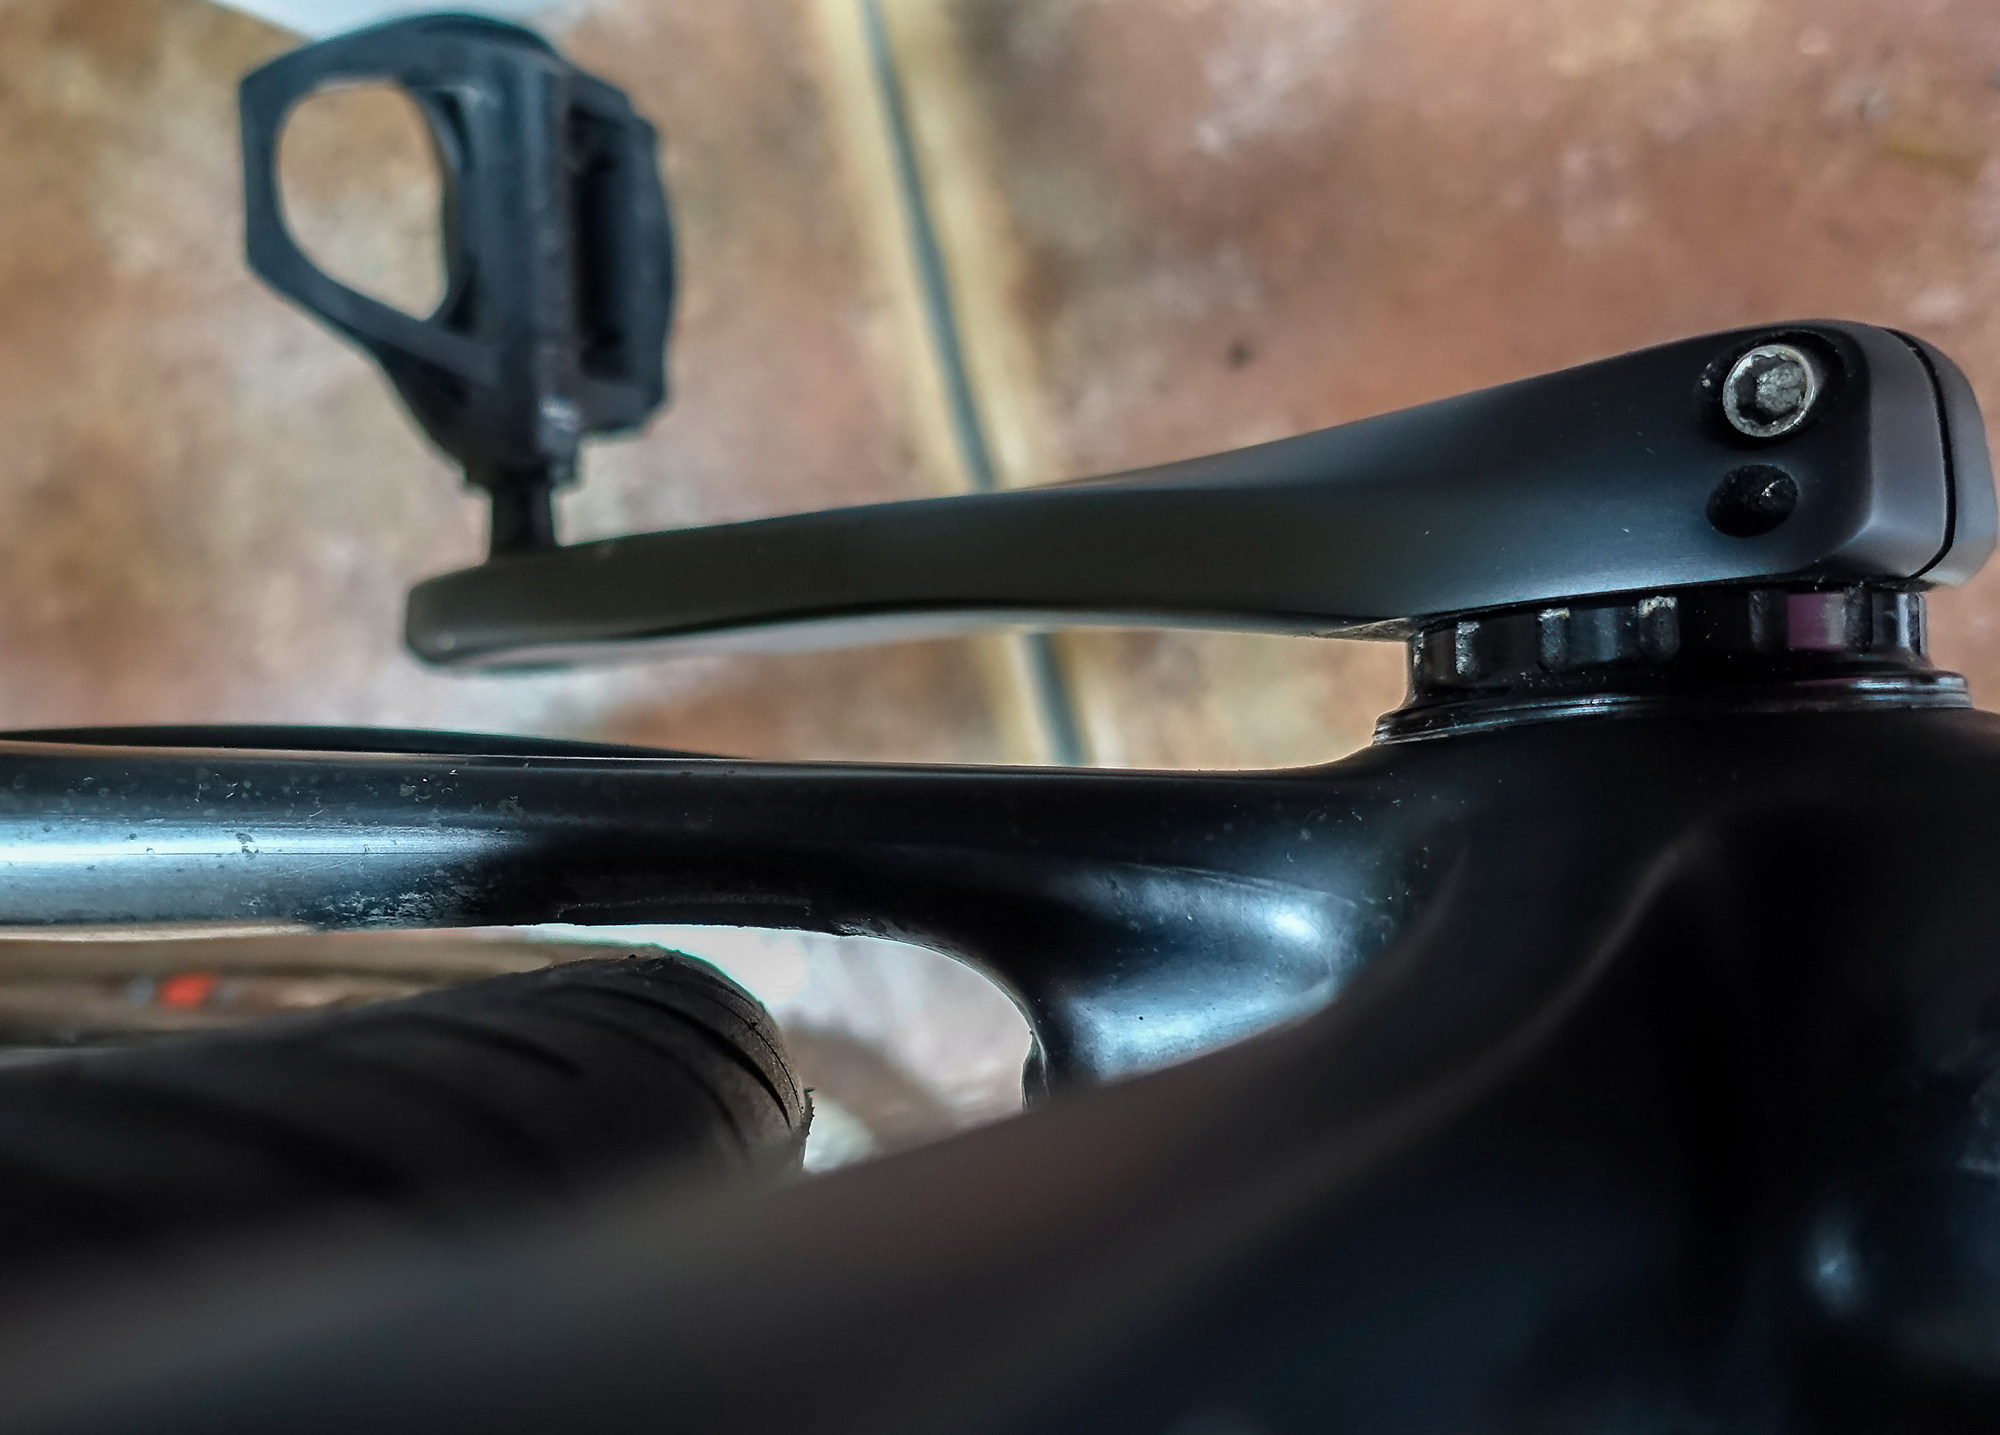
about 3mm at chainstays, which is also OK.
I gave the bike a quick wipe over. It looks much better without the muguards and who would have thought fat tyres could be sexy?
Tune-in next time to read about brakes and gears. One day I might even ride it!


