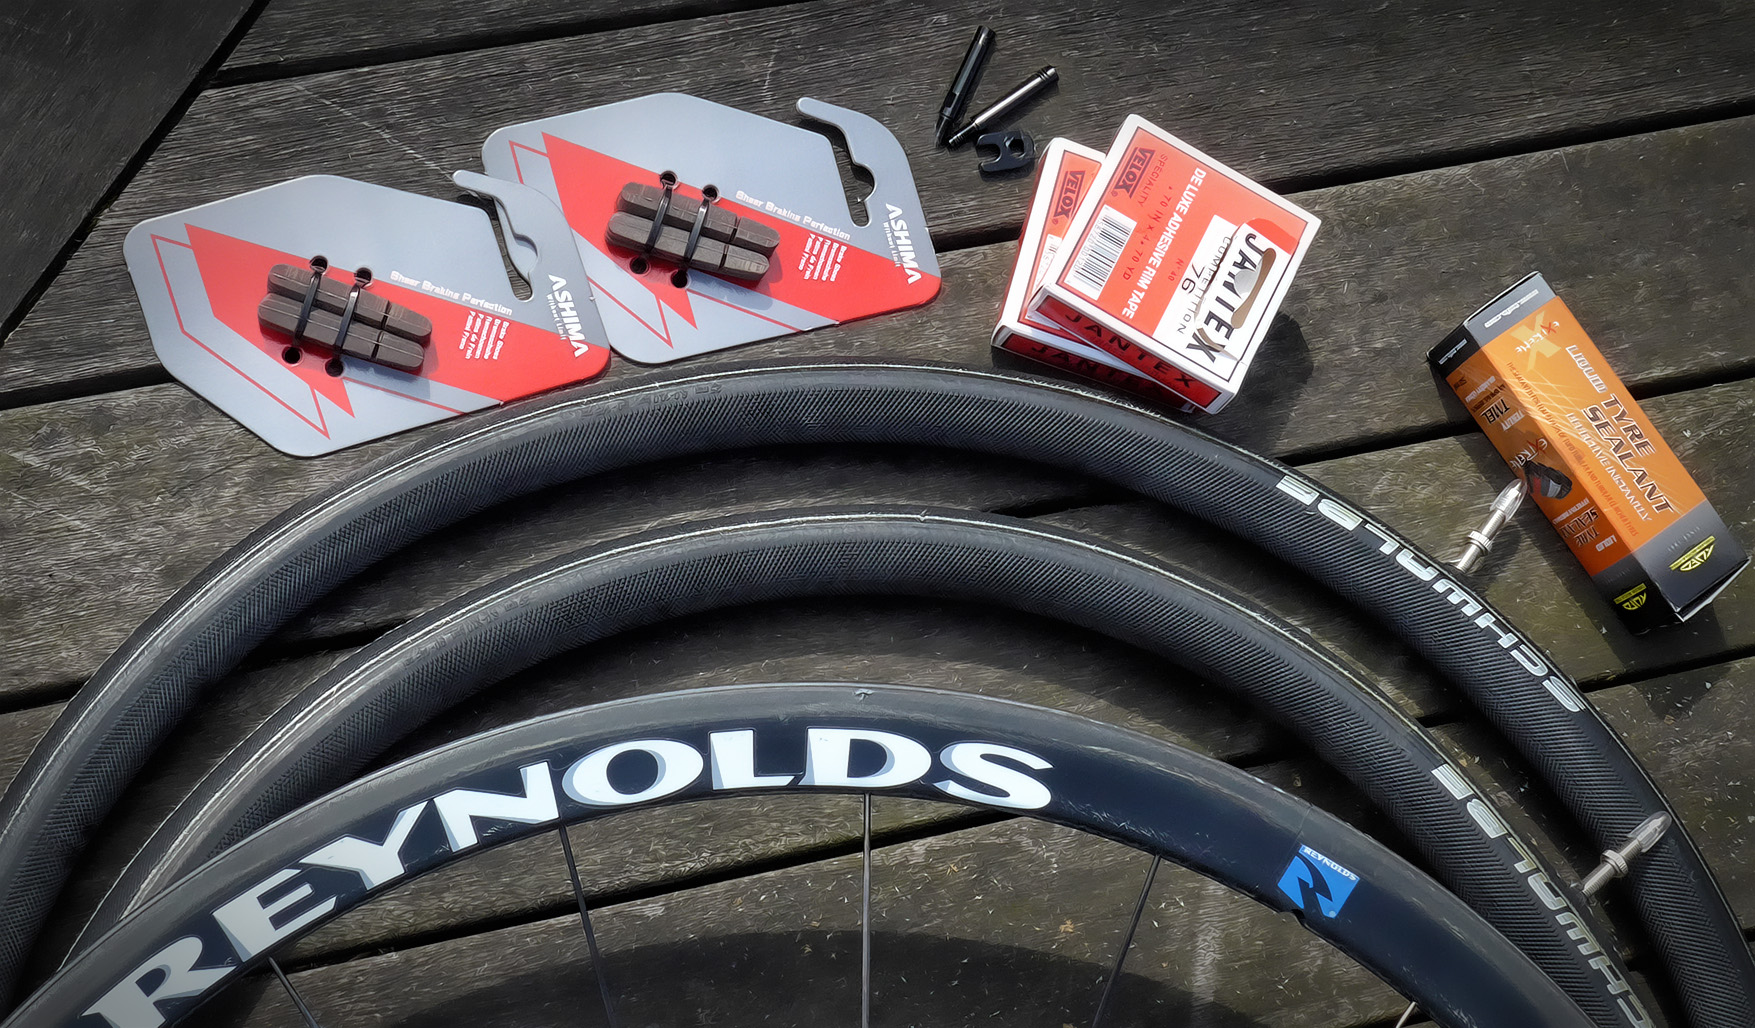
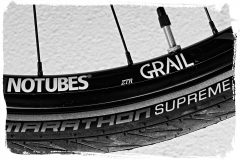
After much deliberation and research, I bought these tubular tyres to go with my new Reynolds MT32V carbon wheels. At £58 each these tubs were not cheap – I wouldn’t even spend that much on car tyres!
So I had the wheels and tubs. But it didn’t stop there. Tubular tyres have to be glued to the rim and there are two ways of doing this: either by using a type of contact adhesive designed specially for the purpose or by using ‘tub tape’, which is basically double-sided tape. I chose the latter as it looked less messy, and maybe easier. The next thing to consider was brake blocks. It is not advisable to use normal brake blocks with carbon rims, primarily because carbon rims get hotter under braking because they are less able to dissipate the heat. So I got some pads designed for carbon rims. I also needed to consider what I would do if I got a puncture – I didn’t really want to carry (let alone afford) a spare tub with me all the time. I read that tubular tyres are less prone to puncture than normal ‘clincher’ tyres and that you can nearly always fix a puncture by the use of tyre sealant, either at the time of puncture or pre-installed before you ride. So I bought a bottle of tyre sealant.
Before fitting tubs to a wheel the tyre must first be pre-stretched either by:
-
- Looping the tyre under your foot and pulling it (not recommended)
- Pumping the tyre up to 120 psi (without it being on a wheel) and leave overnight (not recommended)
- Fitting it dry to a spare rim and leave it pumped up overnight.
I chose the middle option, as advised here. (Subsequently I saw advice that this was not recommended as it could distort the tyre.) So, I was finally ready to fit the tyres, or so I thought! I soon realised that the valves on the Schwalbe tyres were not long enough to fit through the Reynolds rims. Damn! So I had to order some valve extenders and wait another couple of days for those to be delivered.
I was finally ready to fit the tyres. First I did a dry run and stretched one of the tyres onto a wheel. This exercise was enough to tell me that it was bloody tricky! But it was time to bite the bullet and fit them:
-
- First I made sure the rim was clean.
- I fitted the rim tape as explained here. Even this is a very tricky procedure as you strive to keep the tape central on the rim.
- I stretched the tub over the rim and made sure it was sitting centrally.
- I pulled a section of the tyre aside to peel back the backing from the rim tape. I gradually worked my way round the wheel doing this.
- As the tyre went back into place after I had moved it aside it sometimes didn’t go back to a central position, so I had to do lots of re-positioning involving trying to un-stick the tyre from the tape so I could move it. The whole process was very frustrating and when I had finished, some of the tub-tape could be seen at various points around the wheel. I wasn’t happy about that, but I wasn’t going to redo it.
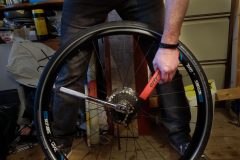
- When it came to the rear wheel I decided to follow the advice in the video and stick the flat handle of a spanner under the tyre and move it round gradually whilst releasing the tape backing strip. That worked well and the tyre went on straight without any tape being visible between the rim and tyre.
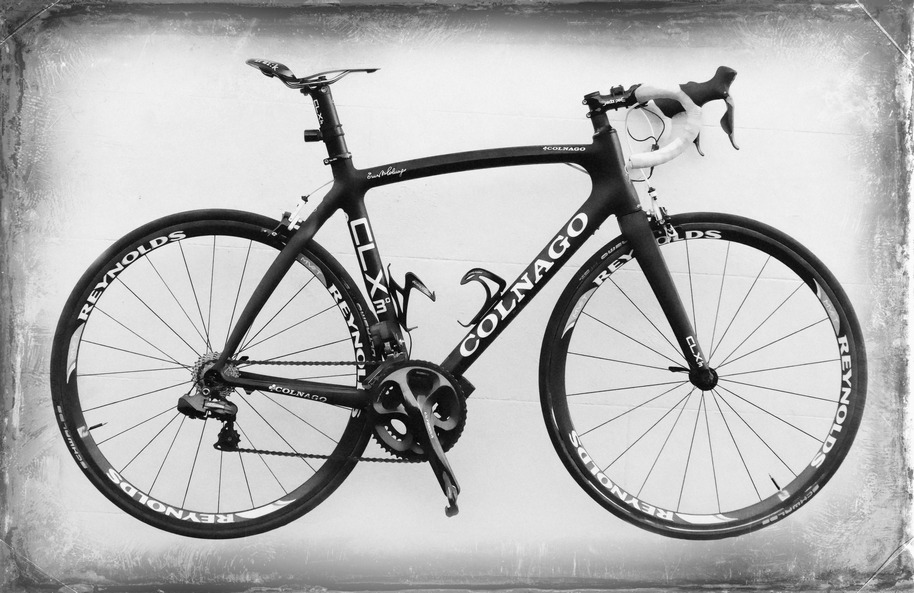
So I pumped them up, fitted my old 12-25 cassette and put them on the Colnago.
